
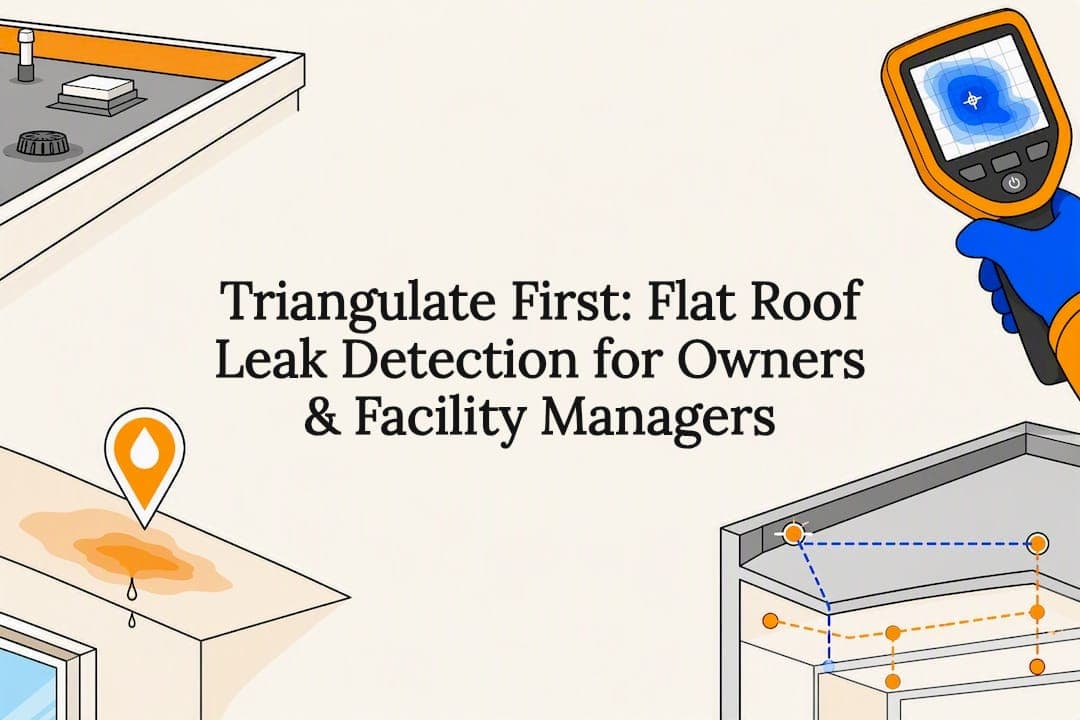
The fastest reliable way to find a flat roof leak is to map the interior stain, measure to two fixed roof references to triangulate the search area, run a visual inspection paired with a pinless moisture-meter grid, then confirm with a targeted test like infrared scanning or a controlled water test. If the roof exceeds 1,000 square feet, insulation is soaked across a wide area, or the leak won't reproduce, stop and call a licensed contractor rather than cutting into the membrane yourself.
TL;DR:
- Most flat roof leaks originate from seams or penetrations, making visual inspection and interior triangulation the most effective initial detection methods.
- Combining multiple techniques such as infrared scans, moisture readings, and acoustic checks increases diagnostic reliability over relying on a single test.
- Water can travel laterally under the membrane for 20 to 40 feet before dripping inside, so interior stain mapping and triangulation are essential early steps.
- Professional intervention is necessary for roofs larger than 1,000 square feet, with widespread insulation saturation, or when leaks are intermittent and unreproducible.
- Patience during wet tests is crucial, as rushing can produce false negatives; waiting at least 10 minutes after soaking is recommended for accurate results.
Table of Contents
- Flat Roof Leak Detection Methods at a Glance
- How Do You Find a Flat Roof Leak Step by Step?
- Which Detection Tools Actually Work, and When?
- When Should You Stop and Call a Professional?
- Why Professional Diagnosis Still Matters
- What the Textbook Advice Gets Wrong About Flat Roof Leaks
- How Exteriorgenie Handles Flat Roof Leak Repairs
- Sources
- FAQ
Flat Roof Leak Detection Methods at a Glance
Six approaches cover nearly every flat roof leak scenario, and picking the right one first saves hours of guesswork. Most successful diagnoses combine at least two or three of these methods, rather than relying on a single test.
- Visual inspection and interior triangulation. Walk the roof and check seams, penetrations, drains, and flashing while cross-referencing the interior stain location. This costs nothing but a ladder and catches the majority of problems, since seams and penetrations account for roughly 85% of flat roof leaks while the open membrane field accounts for the rest.
- Moisture-meter screening. A pinless meter scans through the membrane without puncturing it, letting you build a grid of readings across the suspect area in under an hour.
- Infrared thermography. A thermal camera reveals temperature differences between wet and dry insulation, but only within a narrow window after sun exposure heats the roof surface unevenly.
- Controlled wet testing. A hose and a helper isolate sections of roof and simulate rain, confirming a leak location by watching for interior drip while soaking each zone for a set period.
- Dry electronic and acoustic detection. These methods locate breaches in sealed membrane systems using impedance or sound, useful when wet testing isn't practical or the roof needs to stay dry for warranty reasons.
- Smoke testing. Smoke pumped beneath the membrane through a small access point escapes at the breach point, which works well on complex roofs with many penetrations.
Combining methods matters more than picking the "best" one. A systematic approach that layers infrared scans, moisture readings, and acoustic checks produces far more reliable results than any single test run in isolation, because each method has blind spots the others cover.
How Do You Find a Flat Roof Leak Step by Step?
Water on a flat roof rarely drips straight down. It travels laterally under the membrane, sometimes for 20 to 40 feet before it finds a path through the ceiling below, which is exactly why starting inside the building saves so much rooftop searching later.
- Map the interior stain. Measure its position relative to two fixed points visible from inside, like a support column and an exterior wall.
- Transfer those measurements to the roof. Locate the same two reference points on the roof (a vent stack, a drain, a skylight curb) and triangulate the approximate leak zone.
- Inspect that zone visually. Check every seam, penetration, flashing edge, drain bowl, and scupper. Look for standing water, since ponding that lasts beyond 48 hours signals a drainage problem that industry guidance treats as a real structural risk, not just cosmetic pooling.
- Run a moisture-meter grid. Take pinless readings every 5 to 10 feet across the marked zone and note anywhere the reading spikes. This builds a rough wet-path map without cutting anything open.
- If the source still isn't obvious, run a controlled wet test. Divide the suspect area into 5 by 5 foot sections and soak each one for at least 10 minutes before moving uphill to the next section, watching for drip below.
- Corroborate with infrared or electronic detection before you consider a core sample or membrane cut. Convergence across two or three methods is what gives you real confidence in a location.
Pro Tip: Move the hose too fast during a wet test and you'll get a false negative. Water often takes 5 to 10 minutes to saturate the insulation layer enough to produce a visible interior drip, so rushing section to section is the single most common reason DIY water tests fail.
Stop the DIY process and bring in a professional once the roof is large or insulation appears saturated across a wide area, the deck feels soft underfoot, or the leak only shows up intermittently and won't reproduce on demand.
Which Detection Tools Actually Work, and When?
Infrared thermography depends on timing more than any other method. It reads temperature differences between wet and dry insulation after the sun has heated the roof surface, so scanning too early, too late, or on an overcast day produces unreliable results. An operator also has to account for emissivity differences between roofing materials and note recent rain, wind, and sun angle, or the thermal pattern gets misread entirely.
Moisture meters split into two types that solve different problems:
- Pinless meters scan non-destructively through the membrane and are best for the first-pass grid survey.
- Pin-type meters puncture slightly to give a precise reading at one spot, useful for confirming a specific suspect location after the pinless scan narrows things down.
Both tools share a real limitation: they need water present to register an anomaly. If too much time has passed since the last rain or leak event, infrared and moisture readings can both come back clean even when a leak exists, which is why timing your inspection soon after a rain event matters.
Acoustic and dry electronic detection work by sending impedance signals or sound through a sealed membrane to find breaches without introducing water at all. They're the right call when a wet test isn't feasible, whether because of warranty restrictions, interior finishes below that can't get wet, or a dry-weather window that won't allow for a proper soak test. Smoke testing takes a different approach entirely: it requires a small coupling or access hole cut beneath the membrane, then pressurized smoke escapes wherever the breach sits. That makes it more invasive than the other dry methods, but it's often the fastest way to locate a breach on a roof riddled with penetrations.
When Should You Stop and Call a Professional?
Never walk on a roof section that feels soft, spongy, or visibly deflected. That's a sign of deck failure underneath, and the surface may not hold your weight.
Bring in a licensed contractor when any of these apply:
- The roof exceeds roughly 1,000 square feet, which makes manual triangulation and wet testing impractical without specialized equipment.
- Insulation appears saturated across a wide area rather than one isolated spot.
- The leak is intermittent and won't reproduce during your inspection window.
- You see sagging ceiling tiles or active water intrusion anywhere near electrical panels or wiring.
That last scenario is not a DIY situation under any circumstances. Evacuate the area and call a specialist immediately rather than attempting to trace the source yourself.
Before the contractor arrives, gather what you've already found: your interior stain measurements, the moisture-meter grid readings, photos of any ponding or visible damage, and a note of the recent weather. That head start speeds up their diagnosis considerably.
Why Professional Diagnosis Still Matters
A property owner's moisture map and photos are useful, but a trained inspector brings calibrated instruments, safe rooftop access equipment, and the judgment to know when a core sample is worth the risk versus when it isn't. Inspections led by HAAG-certified professionals provide reliable diagnostics, and veteran-owned companies often hold prestigious contractor statuses, which can be valuable when leaks involve insurance claims. That combination matters most when a leak also involves an insurance claim, since documentation quality directly affects claim outcomes. Handing a contractor your own measurements and moisture data doesn't replace their inspection. It just makes their diagnosis faster and often cheaper.
What the Textbook Advice Gets Wrong About Flat Roof Leaks
Most guides treat leak detection like a checklist: inspect, test, repair, done. That undersells how much the interior-to-roof triangulation step actually matters. Skip it, and you're stuck scanning an entire roof surface with a moisture meter or infrared camera, which wastes time and money whether you're doing it yourself or paying someone by the hour to do it.
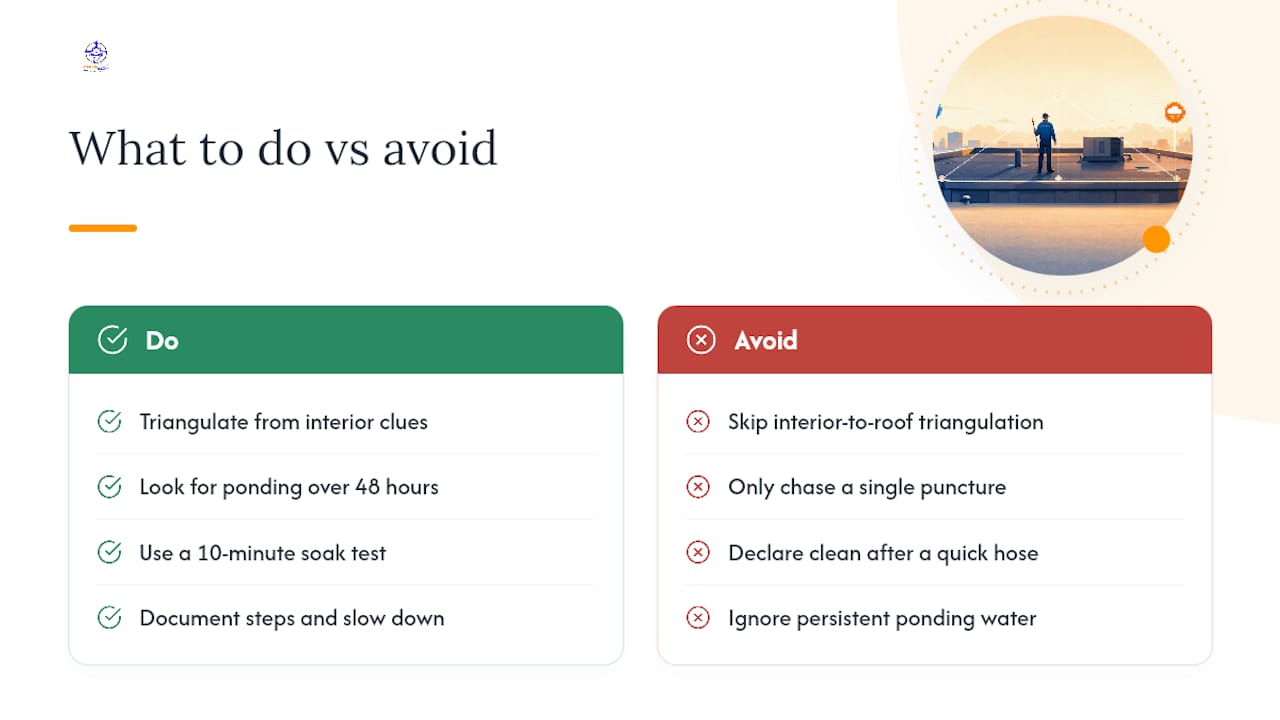
The conventional advice also underweights ponding water as a root cause. Property owners fixate on finding "the hole," when persistent ponding beyond 48 hours is often the actual driver behind membrane failure and warranty problems over time. Chasing a single puncture while ignoring a drainage problem just means you'll be back on the roof again next season.
If there's one habit worth building, it's patience with the wet test. The 10-minute soak rule sounds fussy until you've watched someone move a hose too fast and declare a section "clean" when it wasn't. Slow down, document everything as you go, and treat the interior clues as your starting map, not an afterthought.
— Ebben
How Exteriorgenie Handles Flat Roof Leak Repairs
Once you've narrowed down where the water is getting in, the next step is getting it fixed correctly, not just patched over. Exteriorgenie handles flat roof leak diagnosis and repair for property owners and facility managers who've hit the limits of DIY testing or simply don't want to be on a ladder with a moisture meter.

If a storm caused the damage, the storm damage restoration team handles both the repair and the insurance paperwork, since Exteriorgenie's HAAG-certified inspectors document damage in the format insurers actually require. Booking an inspection gets you a written estimate along with an honest repair-versus-replacement recommendation, not an automatic push toward the more expensive option. Bring your interior measurements, moisture-meter readings, and photos to the appointment. It shortens the inspector's visit and gets you a faster answer. If the leak turns out to be an emergency, emergency repair services are available to get a temporary fix in place before it causes more damage inside.
Sources
For deeper technical detail beyond this workflow, Inspectapedia's flat roof leak diagnosis guide covers moisture meter and infrared methodology in more depth. Exteriorgenie's own ponding water guide explains the 48 hour ponding rule referenced above, and the flashing leak breakdown digs into one of the most common failure points named in this article.
- Flat Roof Leak Diagnosis - Inspectapedia
- How to Find a Roof Leak on a Flat Roof: A Complete Detection Guide - Good Luck Info
- Flat Roof Leak Detection Equipment: Tools and Techniques for Inspectors – Rescreening Masters
- Ponding Water Flat Roof: 2026 Fix Guide | The Roofing Brief
FAQ
Where do flat roofs leak the most?
Seams and penetrations account for roughly 85% of flat roof leaks, including flashing, drains, and roof-mounted equipment mounts, while the open membrane field accounts for the rest.
How do you find out where a roof leak is coming from?
Map the interior stain against two fixed reference points, transfer those measurements to the roof, then confirm with a visual inspection and a pinless moisture-meter grid before running a targeted wet or infrared test.
How do you temporarily stop a flat roof leak?
A temporary patch or tarp can control water intrusion until a permanent repair happens. Exteriorgenie's guide to temporary roof patch steps walks through the process, and calling for emergency repair service is the faster route if the leak is active.
What is the most effective way to fix a leaking flat roof?
Fixing the underlying cause, whether that's a failed seam, damaged flashing, or persistent ponding water, is more effective than a spot patch alone. A professional inspection identifies whether repair or full replacement makes more sense for the roof's condition.
How much does professional flat roof leak detection cost?
Cost varies by roof size, accessibility, and which tests are needed, so there's no flat number that applies everywhere. Exteriorgenie provides a written estimate after an on-site inspection, and current details are available by requesting a quote.