
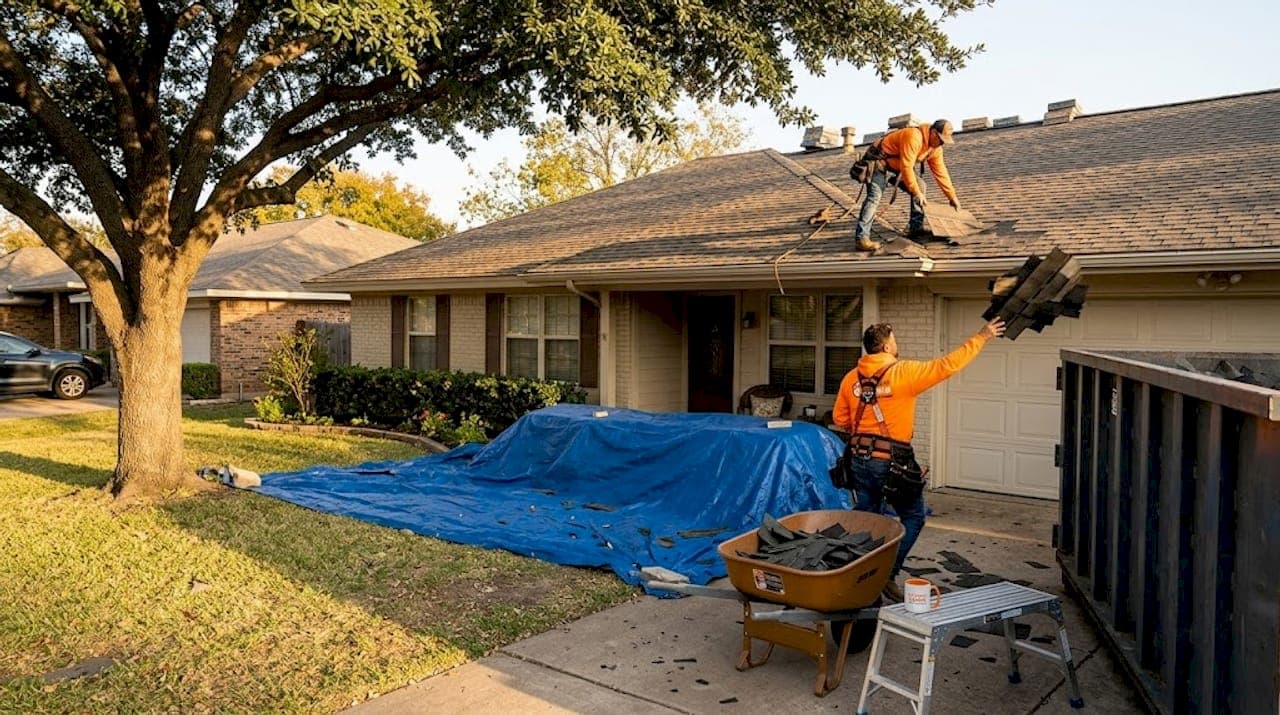
Most homeowners assume a roof replacement means a crew shows up, pulls off old shingles, and nails down new ones. The reality is far more involved. Understanding what is roof replacement process actually means, from the first inspection to the final walkthrough, is what separates homeowners who get a roof that lasts 30 years from those calling for repairs within five. This guide walks you through every step, what to expect during roof replacement, how long it takes, and what it costs, so you can make a confident, informed decision before signing any contract.
Table of Contents
- Key takeaways
- Signs you need a roof replacement
- The roof replacement process step by step
- Roof replacement timeline and cost
- Challenges and nuances to watch for
- My honest take on roof replacement
- Ready to replace your roof in Lexington, SC?
- FAQ
Key takeaways
| Point | Details |
|---|---|
| Roof replacement is a system | Every layer, from drip edge to ridge cap, works together to manage water and airflow. |
| Know the warning signs early | Age, leaks, curling shingles, and moss growth all signal it is time to replace, not repair. |
| The process has nine distinct steps | Tear-off through final inspection each require precision to protect your warranty and home. |
| Costs go beyond materials | Labor, permits, disposal, ventilation upgrades, and deck repairs all factor into the final price. |
| Timeline averages around 12 days | Size, material choice, and weather all influence how long your specific project takes. |
Signs you need a roof replacement
Before you can plan a replacement, you need to know whether you actually need one. A repair can solve isolated problems, but certain signs point clearly toward full replacement.
Watch for these red flags:
- Age over 20 years. Most asphalt shingle roofs carry a 20 to 30 year lifespan. If yours is approaching or past that range, replacement is the financially smarter move even if it looks fine from the street.
- Widespread shingle damage. Curling, cracking, or missing shingles across large sections mean the material has failed systemically, not in isolated spots.
- Granule loss in gutters. When you see gritty, sand-like material collecting in your gutters, the shingles are shedding their UV protection coating.
- Persistent leaks or water stains. If you have had the same leak patched more than once, the underlying system has likely failed.
- Moss, algae, or dark streaking. These indicate moisture retention, which accelerates structural decay beneath the surface.
- Sagging or soft spots. Any visible sagging in the roofline signals deck damage that requires immediate attention.
Pro Tip: Before calling contractors, walk your attic with a flashlight on a sunny day. Pinpoints of light coming through the decking confirm the roof has failed beyond repair.
Catching these signs early matters financially. A roof that fails completely can allow water to damage insulation, framing, drywall, and electrical systems, turning a $12,000 replacement into a $40,000 restoration project. Once you have confirmed replacement is necessary, preparation begins. That means pulling permits, scheduling material delivery, protecting landscaping and vehicles near the house, and giving neighbors a heads-up about the noise and dumpster placement.
Selecting the right roofing materials based on your climate, budget, and goals directly affects how long your new roof performs. Make that choice before the crew arrives, not during tear-off.
The roof replacement process step by step
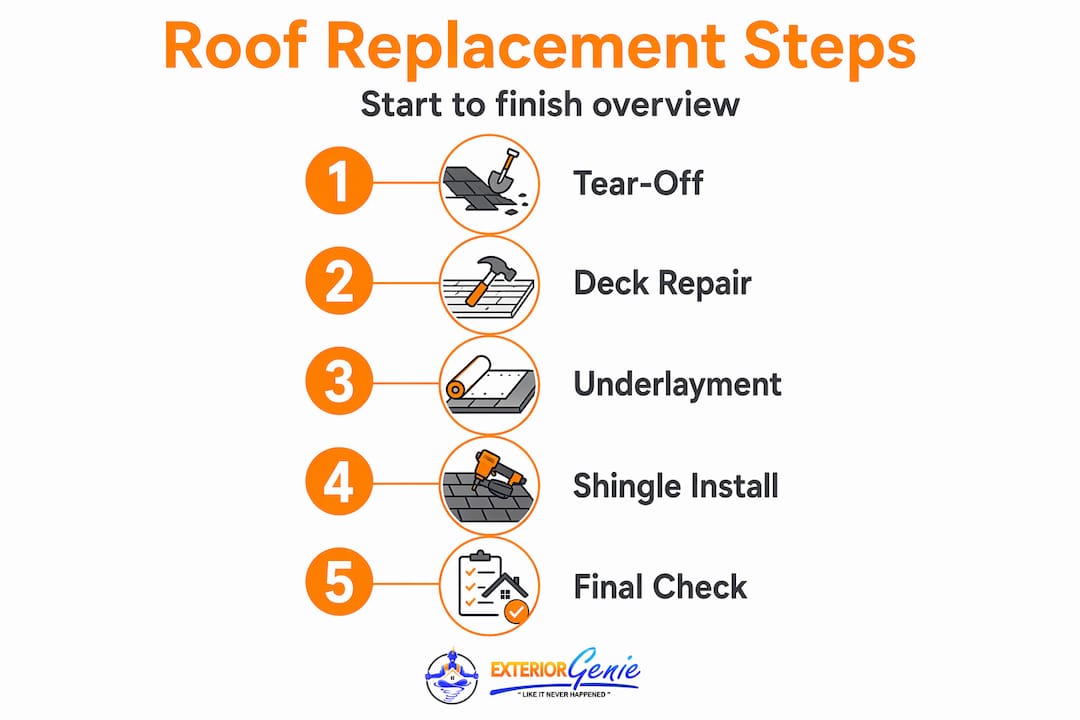
This is where most articles oversimplify. The full roof replacement process includes removal, deck repair, drip edge, water and ice barriers, underlayment, flashing, vent installation, shingle placement, ridge capping, and a final inspection. Each step depends on the one before it. Skip or rush any layer, and the entire system is compromised.
Here is how a professional roof installation process unfolds:
-
Tear-off. The crew removes all existing roofing material down to the deck. A dumpster is staged in your driveway or yard for debris. This is not optional on most quality jobs. Layering new shingles over old ones traps heat and moisture, voiding manufacturer warranties.
-
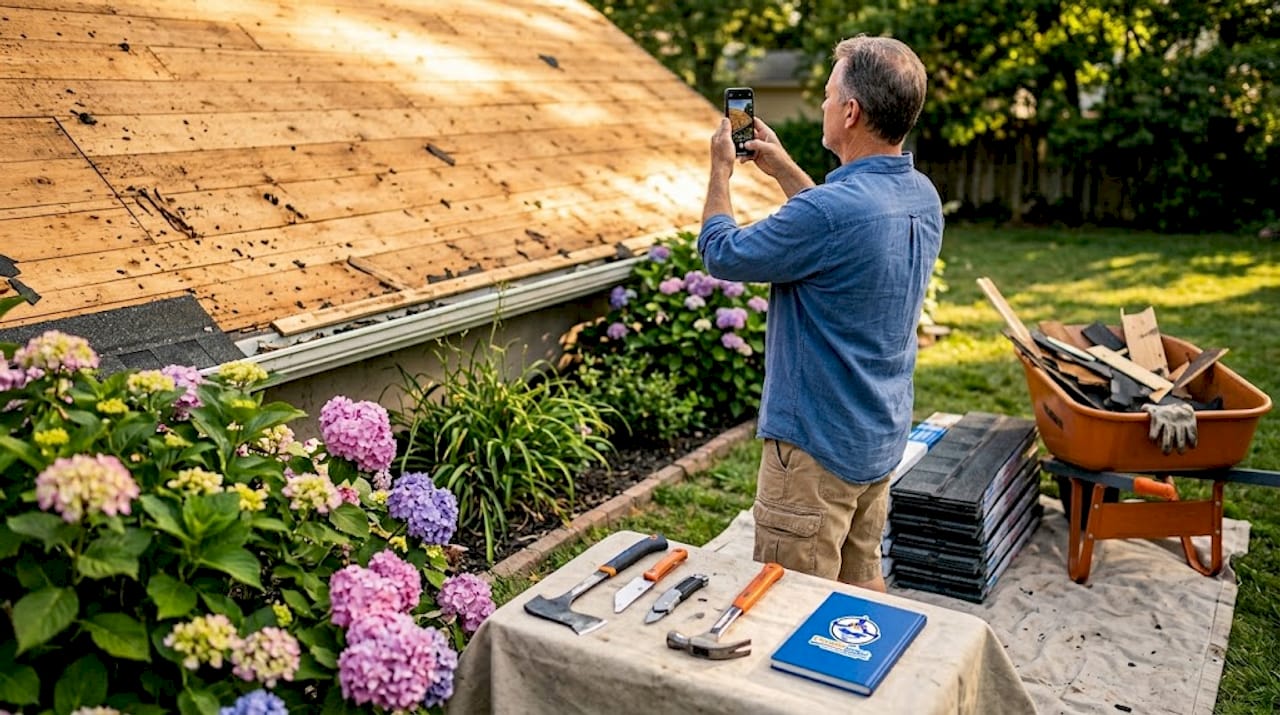
Deck inspection and repair. Once the deck is exposed, the crew inspects every board for rot, soft spots, and structural damage. Damaged sections are replaced before anything else goes on. This step often reveals hidden problems that were invisible during the initial estimate.
-
Drip edge installation. Metal drip edge is fastened along the eaves first, then along the rakes after underlayment is placed. This directs water away from the fascia and into the gutters rather than behind them.
-
Ice and water barrier. Ice and water barriers are installed on roof pitches of 2/12, 3/12, or 4/12 and in all valleys. These self-sealing membranes are the last line of defense against ice dams and wind-driven rain getting under the shingles.
-
Underlayment. Roofing felt or synthetic underlayment is rolled out horizontally across the deck, overlapping each row. This layer provides waterproofing backup if shingles are ever breached. Underlayment and barrier placement is system-critical and tied to roof pitch and valley structure to maintain water-shedding integrity and warranty compliance.
-
Flashing installation. Proper flashing installation around valleys, chimneys, skylights, and any roof penetration is vital to prevent leaks and water damage. Flashing failures are the number one cause of callbacks and warranty disputes. A quality crew uses step flashing at walls and counter flashing at chimneys, not just caulk.
-
Vent installation. Ridge vents, box vents, or power ventilators are cut in and sealed at this stage. Proper vent placement maintains attic ventilation, increases roof lifespan, and prevents moisture buildup that leads to mold and premature shingle failure.
-
Shingle application. Shingles are installed from the eaves upward in overlapping rows, with each course offset from the one below to prevent water channels. Starter strips go on first at the eaves, then field shingles work toward the ridge.
-
Ridge cap installation. Pre-cut ridge cap shingles seal the peak of the roof, completing the weather barrier. This step also locks in the ventilation system by capping ridge vents properly.
-
Cleanup and final inspection. The crew uses magnetic rollers to collect nails from your yard and hauls all debris. A qualified inspector then walks the roof to verify every layer meets manufacturer specs and local code, which is what validates your warranty.
Pro Tip: Ask your contractor to photograph each stage of the installation. This documentation protects you if a warranty claim arises years later.
| Stage | What happens | Why it matters |
|---|---|---|
| Tear-off | Old material removed to bare deck | Reveals hidden damage; required for most warranties |
| Deck repair | Rotted or damaged boards replaced | Structural integrity of the entire roof depends on this |
| Barriers and underlayment | Ice/water membrane and felt installed | Primary waterproofing defense beneath shingles |
| Flashing | Metal installed at all penetrations | Prevents the most common source of roof leaks |
| Shingles and ridge cap | Final weather surface applied | Visible protection and UV defense for the system |
Roof replacement timeline and cost
Knowing what to expect during roof replacement means having realistic numbers before the project starts.
The roof replacement timeline averages about 12 days, though straightforward single-story homes with standard asphalt shingles can be completed in one to two days of active work. Larger homes, complex rooflines, steep pitches, or premium materials like slate or metal extend that window considerably. Weather delays are real. Rain, extreme heat, and high winds all pause work, and seasonal factors affect both scheduling and pricing throughout the year.
On the cost side, the number most homeowners fixate on is materials. That is only part of the picture. Total roof replacement cost includes:
- Materials (shingles, underlayment, flashing, vents, ridge cap)
- Labor (typically 60% of total project cost)
- Permit fees (required in most jurisdictions)
- Debris disposal (dumpster rental and haul-off)
- Deck repairs (priced per sheet of plywood replaced)
- Ventilation upgrades (often necessary to meet current code)
- Warranty costs (extended manufacturer warranties carry a premium)
Detailed written estimates separating each of these line items are the mark of a contractor worth hiring. Any bid that gives you a single lump sum without itemization is a red flag. Low bids often mean cut corners on underlayment quality, flashing detail, or ventilation, and those shortcuts cost far more to fix later than the original savings.
Compare at least three written estimates. Ask each contractor what brand of underlayment they use, how they handle deck repairs discovered during tear-off, and what their workmanship warranty covers.
Challenges and nuances to watch for
Even with a great contractor, roof replacements can surface complications that catch homeowners off guard.
"The roof is a system, not a surface. Every layer from the deck up contributes to how water moves off your home. When one component is rushed or skipped, the entire system eventually fails at that weak point."
Hidden deck damage is the most common surprise. Once the tear-off reveals the bare deck, soft spots from years of slow moisture infiltration often appear in areas that showed no exterior signs. Budget a contingency of 10 to 15 percent of your total estimate to cover deck repairs without derailing the project.
Ventilation is another area where homeowners get caught off guard. Many older homes were built with inadequate attic ventilation by today's standards. When a new roof goes on without correcting the ventilation balance, heat and moisture trapped in the attic can degrade the new shingles from underneath, cutting their lifespan nearly in half. A reputable contractor will assess your intake and exhaust ventilation ratio before the project starts, not after.
Property protection matters more than most homeowners realize. Shingles, nails, and debris fall from significant heights during tear-off. Covering HVAC units, protecting garden beds, and moving vehicles well clear of the work zone prevents damage that contractors may not cover under their liability policies.
Finally, workmanship warranties vary widely. A manufacturer's material warranty only covers defective products. It does not cover improper installation. A separate workmanship warranty from your contractor, typically ranging from two to ten years, covers labor-related failures. Ask for it in writing before work begins.
You can learn more about what professional roof inspections involve and how they protect your investment after installation is complete.
My honest take on roof replacement
I have seen hundreds of roof replacements over the years, and the single biggest mistake homeowners make is treating this project like a commodity purchase. They collect bids, pick the lowest number, and assume the result will be roughly the same regardless of who does the work. It will not be.
The details that separate a 30-year roof from a 12-year roof are invisible once the shingles go down. You cannot see whether the ice and water barrier was run far enough up the valleys. You cannot see whether the flashing was properly counter-flashed at the chimney or just caulked. You cannot see whether the attic ventilation was balanced correctly. By the time those failures show up as leaks or premature aging, the contractor is long gone.
What I have learned is that the homeowners who get the best outcomes are the ones who ask specific questions before signing anything. They ask about underlayment brand and weight. They ask how deck repairs are priced and documented. They ask to see photos from previous jobs at each stage of installation. That level of engagement signals to a contractor that you are paying attention, and that alone changes the quality of work you receive.
Roofing materials have also evolved significantly. Synthetic underlayments now outperform traditional felt in tear resistance and moisture management. Impact-resistant shingles can earn insurance discounts in storm-prone areas. These are not upsells. They are genuine improvements worth understanding before you commit to a material package.
— Ebben
Ready to replace your roof in Lexington, SC?
At Exteriorgenie, we have spent 25 years treating every roof replacement as the system-level project it actually is. Our HAAG-certified inspectors use a documented process that covers every layer, from deck assessment through final walkthrough, so nothing gets missed and your warranty stays valid.

Whether you need a full residential roof installation or are starting with a professional inspection to determine the right path forward, our team in Lexington, SC is ready to walk you through every step with transparent pricing and zero surprises. We also provide insurance claim assistance for homeowners dealing with storm damage, and our residential roofing services cover everything from asphalt shingles to flashing repair and ventilation upgrades. Contact Exteriorgenie today for a detailed, itemized estimate you can actually compare.
FAQ
What does the roof replacement process involve?
The roof replacement process includes tearing off old materials, inspecting and repairing the deck, installing drip edge, ice and water barriers, underlayment, flashing, vents, shingles, and a ridge cap, followed by cleanup and a final inspection.
How long does a roof replacement typically take?
Most roof replacements average about 12 days from start to finish, though active installation on a standard home can take one to two days depending on size, material, and weather conditions.
What are the signs you need a roof replacement?
Key signs include a roof older than 20 years, widespread shingle curling or cracking, granule loss in gutters, recurring leaks, moss or algae growth, and visible sagging or soft spots in the roofline.
Why does proper flashing matter so much?
Flashing installed around valleys, chimneys, and penetrations is the primary defense against water intrusion at roof joints. Improper flashing is the leading cause of leaks that develop years after installation.
How should I evaluate roof replacement bids?
Look for itemized written estimates that separate materials, labor, permits, disposal, and potential deck repairs. Any single-number bid without line items makes it impossible to compare contractors accurately.