

A roof tear-off is the complete removal of all existing roofing materials, from shingles and underlayment down to the bare roof deck, before new materials are installed. Understanding how roofing tear-off process works helps you plan your project, protect your property, and avoid costly surprises. In the roofing industry, this is called a "full tear-off" or "complete removal," and it is the professional standard for most residential roof replacements. Skipping it in favor of a roof-over, where new shingles are layered on top of old ones, can hide deck damage and shorten the life of your new roof.
How does the roofing tear-off process work?
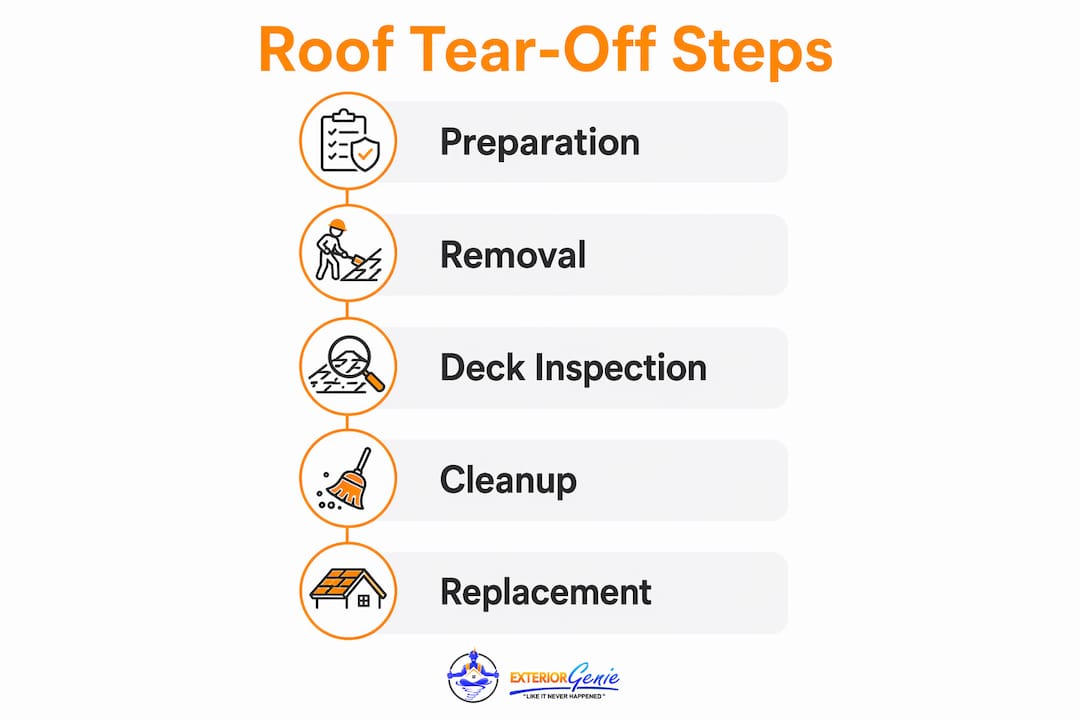
A full tear-off removes every layer of old roofing material to expose the structural deck beneath. This matters because hidden deck damage like rot, soft spots, and failed flashing cannot be detected or repaired without full removal. The process follows a defined sequence: site preparation, systematic material removal, deck inspection and repair, and final cleanup. Each stage builds on the last, and skipping any one of them creates problems that show up as leaks or structural failure years later.
A typical residential tear-off takes 1–2 days, with the removal itself often completed in a single day depending on roof size and complexity. That speed is only possible when the crew arrives with a clear plan and the right equipment staged in advance.
What happens during site preparation for a tear-off?
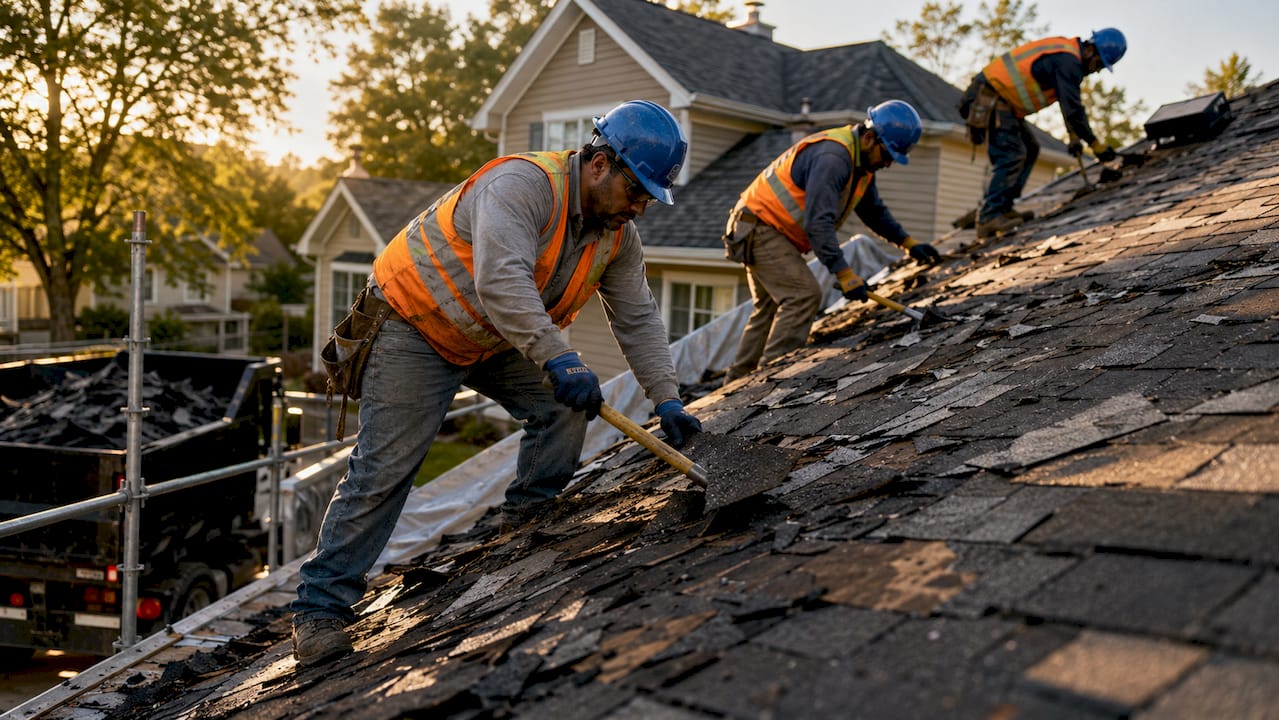
Site preparation is the step most homeowners underestimate, and it directly affects how smoothly the rest of the project runs. A professional crew spends the first 1–2 hours setting up protection before a single shingle comes off the roof.
The core preparation steps include:
- Tarps and plywood shields: Heavy-duty tarps are laid around the building perimeter to catch falling debris. Plywood panels protect windows and vents from impact.
- Dumpster placement: A roll-off dumpster is positioned as close to the work zone as possible to reduce the distance debris travels. This also keeps the yard clear and walkways safe.
- Clear access paths: Crews mark safe entry and exit routes so workers and materials move efficiently without crossing debris zones.
- Work hour scheduling: Reputable contractors schedule tear-off during daylight hours and communicate start times to homeowners and neighbors to minimize disruption.
Pro Tip: Move your vehicles out of the driveway the night before tear-off begins. Falling nails and granules travel farther than most people expect, and a car parked nearby is an easy target for damage.
Homeowners should also move patio furniture, potted plants, and any outdoor decorations away from the building perimeter before the crew arrives. This takes 20 minutes and prevents a lot of headaches.
How are roofing materials removed step by step?
The removal sequence follows a strict top-down order. Starting at the ridge and working toward the eaves lets gravity do the work, directing debris downward in a controlled flow rather than scattering it across the deck.
Professional crews use a systematic removal approach that strips materials in 2–3 foot sections. This keeps the workload manageable and prevents large, unstable piles from forming on the deck. The removal order is:
- Ridge caps: These are pried off first because they sit on top of everything else and must come off before the field shingles below them.
- Field shingles: Roofing shovels and spades are used in open areas to strip shingles quickly. The flat blade slides under the shingles and lifts them in sections.
- Underlayment: Once shingles are cleared from a section, the felt or synthetic underlayment is pulled up and rolled for disposal.
- Flashing: Flashing around chimneys, vents, and valleys requires careful hand tools rather than aggressive force. Rushing this step risks damaging masonry and missing hidden rot beneath the metal.
- Drip edges: Metal drip edges along the eaves and rakes are removed last from each section, just before the deck is inspected.
Roofers also divide the roof into four manageable quadrants during tear-off. This limits how much deck is exposed to weather at any one time and keeps debris contained to one area while the rest of the roof stays protected.
Pro Tip: If you see your crew removing flashing with a hammer and brute force rather than a flat pry bar, that is a warning sign. Aggressive flashing removal frequently cracks chimney mortar and creates new leak points.
| Removal stage | Tool used | Key risk if rushed |
|---|---|---|
| Ridge caps | Flat pry bar | Tearing underlying shingles |
| Field shingles | Roofing shovel or spade | Gouging the roof deck |
| Underlayment | Utility knife and hands | Leaving adhesive residue |
| Flashing | Flat pry bar, hand tools | Cracking masonry or missing rot |
| Drip edges | Pry bar | Bending fascia board |
How does deck inspection fit into the tear-off process?
Exposing the roof deck is one of the most valuable parts of a full tear-off. Once all materials are stripped, the crew performs both a visual and a physical inspection of every square foot of decking.
The inspection focuses on:
- Soft spots: A crew member walks the deck and presses down firmly. Any give or bounce indicates rot or delamination in the plywood or OSB beneath.
- Discoloration and staining: Dark streaks or black patches signal long-term moisture intrusion, even if the wood feels solid.
- Nail pops: Fasteners that have worked loose over time create bumps in the deck surface. These must be driven back flush or replaced before new materials go down.
- Structural damage near penetrations: Areas near chimneys and valleys consistently show the worst deterioration because water channels toward these points.
Damaged sections are marked with chalk or spray paint, then cut out and replaced with matching thickness decking material. The replacement panels are fastened to the rafters below, not just to adjacent decking, to restore structural integrity.
A full tear-off is not just roofing removal. It is a vital inspection and repair opportunity that determines whether your new roof will perform for 20 years or fail in five. Skipping this step to save a day of labor is one of the most expensive decisions a homeowner can make.
For homeowners who want to understand the full scope of what follows deck repair, the roof replacement process overview from Exteriorgenie covers each phase in detail. Keeping the deck clean and properly prepared before new underlayment goes down is also a principle shared by professional roof deck maintenance guides, which emphasize that surface condition directly affects how well new materials bond and seal.
What does post-tear-off cleanup involve?
Cleanup is not an afterthought. It is a safety-critical step that determines whether your property is safe for people, pets, and vehicles once the crew leaves for the day.
The cleanup sequence covers:
- Magnetic nail sweeps on the roof: A magnetic sweeper passes over the entire deck surface to pull up any remaining fasteners. Leftover nails cause up to 70% of premature leaks by puncturing new underlayment during installation or from foot traffic. That statistic alone makes the magnetic sweep one of the most important steps in the entire process.
- Ground-level magnetic sweeps: The same tool runs across the yard, driveway, and any paved areas near the building. A single nail in a car tire or a child's foot negates all the safety preparation done at the start.
- Debris containment and disposal: All stripped materials are loaded into the dumpster and covered if work pauses overnight. Debris containment prevents granules and shingle fragments from washing into storm drains or damaging landscaping.
- Final deck inspection: Before underlayment is installed, the crew does a final walk of the deck to confirm it is clean, dry, and free of protruding fasteners.
Pro Tip: Ask your contractor to walk the yard with the magnetic sweeper in front of you before they leave for the day. It takes five minutes and gives you confidence that the ground is safe for kids and pets.
Homeowners should keep pets and children inside during tear-off and for at least one hour after the crew completes cleanup. Falling nails and granules scatter despite tarps, and the risk is highest right after removal ends.
Key Takeaways
A successful roof tear-off depends on disciplined preparation, systematic removal, thorough deck inspection, and complete cleanup before any new material touches the roof.
| Point | Details |
|---|---|
| Full removal is the standard | A complete tear-off exposes the deck for inspection and prevents hidden damage from undermining the new roof. |
| Site prep protects your property | Tarps, plywood shields, and dumpster placement in the first 1–2 hours prevent damage to windows, landscaping, and vehicles. |
| Top-down removal controls debris | Stripping in 2–3 foot sections from ridge to eave uses gravity to direct debris safely and protects the deck. |
| Deck inspection is non-negotiable | Soft spots, rot near chimneys, and nail pops must be repaired before new underlayment is installed. |
| Magnetic sweeps prevent future leaks | Leftover nails cause up to 70% of premature leaks, making the final fastener sweep a critical quality step. |
What I've learned from watching tear-offs go wrong
After years of working on roofs in South Carolina, the pattern I see most often is this: homeowners focus all their attention on the new materials going on and almost none on what comes off. They ask about shingle brands and color options, which is reasonable. But they never ask how the crew handles nail removal or what happens when the inspector finds rot under the flashing.
The most overlooked stage of the entire process is flashing removal. I have seen crews rip metal flashing off a chimney in two minutes with a hammer, crack the mortar, and move on without noting the damage. That crack becomes a leak path within one season. Proper flashing removal with a flat pry bar and patience takes ten minutes per section. That extra eight minutes is the difference between a roof that lasts 25 years and one that needs a repair call in year three.
My advice to any homeowner planning a replacement: ask your contractor two specific questions before work starts. First, how do you handle flashing removal around masonry? Second, do you perform a magnetic sweep of both the deck and the ground? If they answer both questions with specifics, you have a professional crew. If they look uncertain, keep asking. You are about to spend thousands of dollars on a project that should protect your home for decades. The questions to ask before a roof replacement are worth reviewing before you sign anything.
— Ebben
Exteriorgenie's approach to roof tear-off and replacement
Exteriorgenie handles every phase of residential roof replacement from the first tarp to the final magnetic sweep, backed by 25 years of field experience and HAAG-certified inspectors who know exactly what to look for when the deck is exposed.

If storm damage has pushed your replacement timeline forward, Exteriorgenie's team provides storm damage roof repair with 24/7 emergency response in Lexington, SC. For homeowners planning ahead, residential roofing services cover the full scope of tear-off and installation. Flexible roofing financing options are also available to make the project accessible without delaying necessary work. Contact Exteriorgenie for a consultation and get a clear plan before the first shingle comes off.
FAQ
What is a roof tear-off?
A roof tear-off is the complete removal of all existing roofing materials, including shingles, underlayment, flashing, and drip edges, down to the bare roof deck before new materials are installed.
How long does a roof tear-off take?
A typical residential tear-off takes 1–2 days, with the removal phase often completed in a single day depending on roof size, complexity, and crew size.
Do I need a full tear-off or can new shingles go over the old ones?
A full tear-off is the professional standard because it exposes the deck for inspection and repair. Layering new shingles over old ones hides existing damage and shortens the life of the new roof.
Why does nail removal matter so much after a tear-off?
Leftover nails cause up to 70% of premature leaks by puncturing new underlayment. A magnetic sweep of both the deck and the surrounding ground is a required final step before new materials are installed.
What should I do to prepare my property before tear-off day?
Move vehicles out of the driveway, bring in outdoor furniture and decorations, and keep pets and children inside during the work and for at least one hour after cleanup is complete.