

A roof leak emergency is defined as active water intrusion through a damaged roof that threatens your home's interior, structure, and safety right now. The goal is not to fix the roof permanently. The goal is to stop roof leak emergency damage from spreading while you get professional help. Interior containment comes first, exterior patching comes second, and calling a licensed emergency roofer comes third. Exteriorgenie, a veteran-owned roofing company in Lexington, SC, responds to these calls 24/7 because the order of those three steps determines how much damage you actually end up with.
How to stop a roof leak emergency from destroying your interior
Protecting the inside of your home is the single most effective thing you can do in the first 15 minutes of a leak. Water that soaks into insulation, drywall, and wood framing causes mold within 24 to 48 hours. Moving fast on the interior buys you time and limits your repair bill.
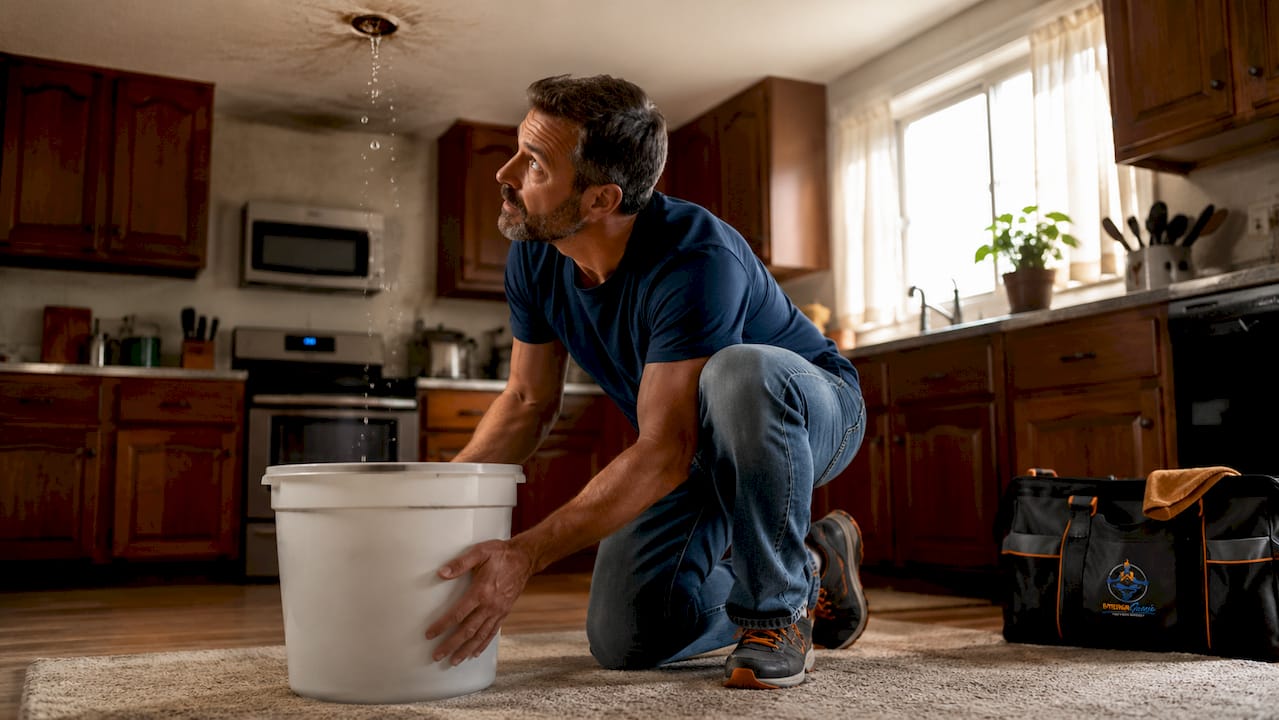
Start in the attic, not at the ceiling drip. Water travels along rafters and insulation before it ever reaches your ceiling, which means the drip you see in the living room could be coming from a breach several feet away. Grab a flashlight and trace the wet trail upward until you find the actual entry point.
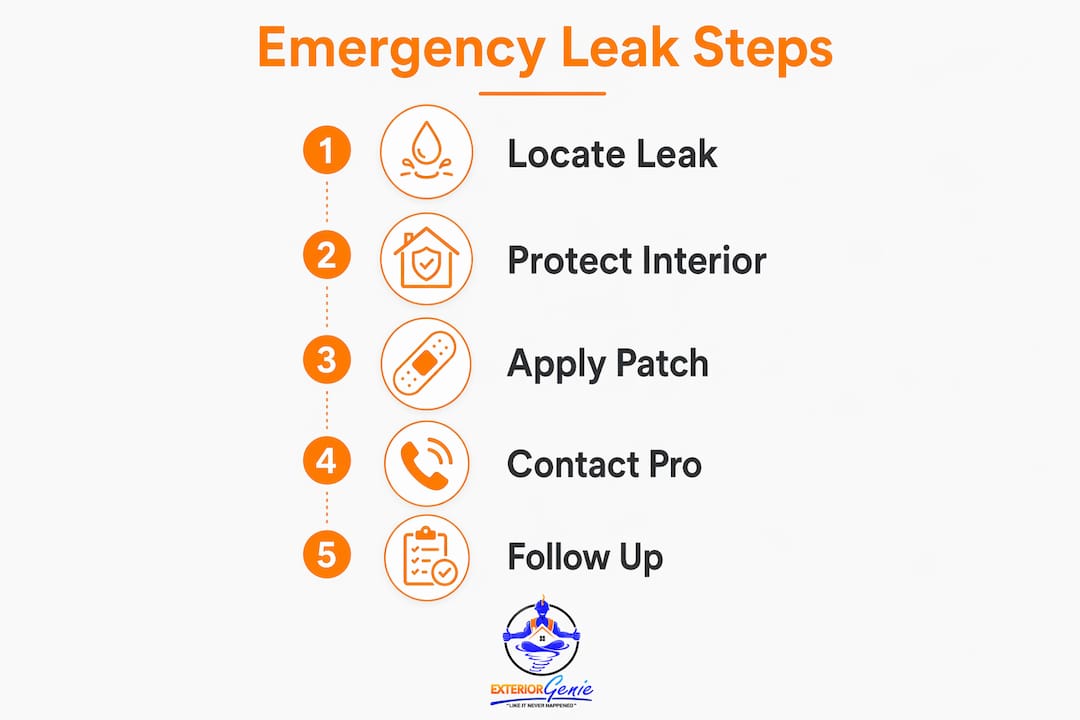
Once you locate the source, follow these steps in order:
- Place buckets or trash cans directly under the drip points in the attic and on the floor below.
- Lay plastic sheeting over insulation, stored items, and any electronics in the affected area.
- Move valuables, furniture, and electronics out of the water's path immediately.
- If the ceiling is bulging with trapped water, poke a small drain hole at the lowest point. Controlled relief holes prevent a sudden ceiling collapse that would dump gallons of water and debris at once.
- Set up box fans and a dehumidifier to begin drying the space as soon as water stops actively pooling.
Pro Tip: Never poke a drain hole near a light fixture, ceiling fan, or any electrical box. If water is dripping near electrical outlets or panels, evacuate immediately and call 911. Water and live electricity are a life-threatening combination.
Sagging ceilings and gas odors are also evacuation triggers. No amount of interior containment is worth staying in a structurally compromised or gas-exposed space.
When and how to apply temporary exterior fixes safely
Exterior patching is only appropriate when the roof is dry, the storm has passed, and you can access the area without risk. Falls from wet or storm-damaged roofs are a leading cause of homeowner injury. If it is still raining, still dark, or the roof deck feels spongy underfoot, stay off it entirely.
When conditions are safe, you have three realistic options for a temporary exterior fix:
- Asphalt roofing cement: Works on small, accessible breaches around flashing, pipe boots, or cracked shingles. Apply it with a putty knife to a dry surface and press firmly. It will not cure properly on a wet surface.
- Self-adhering membrane (ice and water shield): The better choice for larger patches. Peel the backing, press it firmly over the damaged area, and overlap the edges by at least six inches. This material bonds directly to the roof deck and sheds water reliably.
- Polyethylene tarp: The most common emergency roof repair solution for large areas. Size matters. Use a tarp that extends at least four feet past the damaged zone on every side. Lay the top edge under the ridge or tuck it under existing shingles so water does not flow behind it. Secure the edges with 2x4 boards screwed or nailed through the tarp into the roof deck. Never just weight the edges with bricks. Wind will pull a loose tarp off within hours.
Aerosol sealants like Flex Seal do not bond to asphalt shingles during or after rain and can actually trap moisture under the surface, making the underlying damage worse. Skip them entirely.
Pro Tip: Bring all your materials up to the roof in a bucket before you climb. Carrying tools while on a ladder is how most DIY roof accidents happen. Keep three points of contact on the ladder at all times.
Here is a quick comparison of temporary exterior fix options:
| Method | Best for | Key limitation |
|---|---|---|
| Asphalt roofing cement | Small cracks, flashing gaps | Requires dry surface to bond |
| Self-adhering membrane | Medium patches on flat or low-slope areas | Needs clean, dry deck surface |
| Polyethylene tarp | Large damaged areas, storm damage | Must be secured tightly against wind |
| Aerosol sealants | Nothing. Avoid entirely | Does not bond; traps moisture |
For a deeper look at temporary repair techniques that actually hold up, Exteriorgenie's resource library covers professional-grade methods in plain language.
How to contact and work with emergency roof repair professionals
Calling a professional is not a last resort. For most homeowners, it should happen within the first 30 minutes of discovering a serious leak. The interior steps above buy you time. A licensed roofer resolves the problem.
When you call, follow this sequence:
- Use the words "emergency leak" when you speak to the dispatcher. Labeling your request as an emergency moves you to the front of the scheduling queue at most roofing companies.
- Describe the leak clearly: where the water is entering, how long it has been leaking, whether there is visible storm damage, and whether you have already applied any temporary fix.
- Ask about same-day response. Reputable emergency roofing providers offer 15-minute callbacks and same-day inspection or tarp deployment for calls placed before 2 PM.
- Ask what the service call covers. A professional emergency response typically includes a damage assessment, temporary tarping or stabilization, interior drying support, and documentation for your insurance claim.
- Take photos and video of every affected area before the crew arrives. Detailed documentation before repairs begin is the single most effective way to support an insurance claim.
On cost: emergency roof repairs typically run between $500 and $3,500, with tarp deployment services ranging from $300 to $700 depending on roof size and accessibility. Those numbers feel significant in the moment. They are far less than the cost of mold remediation, structural repairs, or a full interior rebuild from water damage left unchecked.
Exteriorgenie's HAAG-certified inspectors document damage in a format that insurance adjusters recognize and accept. That detail alone can speed up your claim considerably.
Common mistakes that make a roof leak emergency worse
The most expensive mistake homeowners make is assuming the drip location marks the roof breach. Water rarely enters directly above where it drips. It travels along rafters, insulation, and the roof deck before finding a low point. Chasing the drip with a patch almost always misses the actual problem.
Avoid these errors during a quick roof leak fix:
- Going on the roof during active rain or at night. Wet surfaces and poor visibility are the two conditions most associated with fall injuries.
- Using aerosol sprays as a patch. They create a false sense of security while moisture continues to build underneath.
- Ignoring electrical and structural warnings. A sagging ceiling or water near a panel is a 911 call, not a bucket problem.
- Securing tarps with weights instead of fasteners. A 30 mph wind gust will remove an unsecured tarp and potentially damage neighboring areas of the roof.
- Waiting to call a professional because the temporary fix "seems to be working." Temporary means temporary. Moisture continues to move through your structure even when the drip stops.
Pro Tip: After applying any temporary exterior fix, go back inside and check the attic with a flashlight 30 minutes later. If you see new wet spots or hear dripping, the patch did not seal the breach. Call a professional immediately rather than attempting a second DIY repair.
Understanding emergency leak detection principles can also help you trace water paths more accurately before a roofer arrives.
What to do in the first 24 hours after stopping the leak
Stopping the active drip is the beginning, not the end. The 24 hours after your initial emergency response determine whether you end up with a manageable repair or a mold and structural problem.
- Keep fans and dehumidifiers running continuously in affected rooms and the attic.
- Check for new moisture every few hours. Water moves through building materials slowly, and new wet spots can appear hours after the initial drip stops.
- Photograph any changes: new stains, expanding wet areas, or visible mold growth.
- Contact your homeowner's insurance carrier as soon as the immediate emergency is under control. Storm damage claims have documentation deadlines, and early contact protects your coverage.
- Do not enter rooms with sagging ceilings or compromised flooring until a professional has assessed the structure.
- Schedule permanent repairs as soon as possible. Temporary fixes are not rated for extended exposure. A tarp that holds through one rainstorm may not hold through a second.
Exteriorgenie offers roof inspection services that cover both the immediate damage assessment and the documentation needed to move your insurance claim forward without delay.
Key Takeaways
Stopping a roof leak emergency requires interior containment first, safe exterior patching second, and immediate professional contact to prevent water damage from becoming a structural and mold crisis.
| Point | Details |
|---|---|
| Interior protection comes first | Place buckets, lay plastic sheeting, and drain bulging ceilings before attempting any roof access. |
| Trace the breach, not the drip | Water travels along rafters, so the entry point is often several feet from where it drips inside. |
| Skip aerosol sealants | Products like Flex Seal do not bond to wet shingles and trap moisture, worsening the damage. |
| Call early and say "emergency" | Using the word "emergency" when booking accelerates your priority and can get same-day response. |
| Document everything before repairs | Photos and video taken before the crew arrives are your strongest asset for an insurance claim. |
What I've learned from watching homeowners handle roof emergencies
Most homeowners I talk to after a leak event made the same mistake: they went straight to the roof. I understand the instinct. The hole is up there, so that is where you go. But the roof during a storm is the most dangerous place you can be, and it is also the least useful place to start.
The interior is where you control the damage. A well-placed bucket and a sheet of plastic over your insulation can prevent thousands of dollars in secondary damage while you wait for a crew. The roof can wait 20 minutes. Your soaked drywall and electronics cannot.
The other thing I see constantly is homeowners trusting aerosol products because the can says "waterproof" and "instant seal." Those products are marketed for small craft repairs, not asphalt roofing systems. They give you false confidence and buy you maybe one dry hour before moisture finds its way around the edges.
My honest advice: do the interior work, call a licensed roofer immediately, and only attempt exterior patching if the storm has fully passed and you are confident on a ladder. Your safety matters more than a dry ceiling. A wet ceiling can be replaced. You cannot.
— Ebben
Exteriorgenie is ready when your roof is not
A roof leak does not wait for business hours, and neither does Exteriorgenie. As a veteran-owned roofing company serving Lexington, SC, Exteriorgenie provides 24/7 emergency roof repair with same-day response, professional tarp deployment, and HAAG-certified damage documentation that holds up with insurance adjusters.

If the cost of repairs is a concern, roofing financing options are available to make permanent fixes manageable without delay. For storm-related damage, Exteriorgenie's team also handles storm damage roof repair from the first emergency call through the final inspection. Schedule a free consultation and get a professional assessment before the next rainstorm arrives.
FAQ
What is the first thing to do when a roof starts leaking?
Go to the attic with a flashlight and locate the actual entry point, which is often several feet from the ceiling drip. Place buckets under active drip points and lay plastic sheeting over insulation and belongings while you call a professional.
How much does emergency roof repair cost?
Emergency roof repairs typically cost between $500 and $3,500, with tarp deployment services ranging from $300 to $700 depending on roof size and accessibility. Costs vary based on damage severity and how quickly you need service.
Can I use Flex Seal to stop a roof leak?
Aerosol sealants like Flex Seal do not bond properly to asphalt shingles, especially on wet surfaces, and can trap moisture underneath. Use asphalt roofing cement, a self-adhering membrane, or a properly secured tarp instead.
When should I evacuate during a roof leak?
Evacuate immediately if water is dripping near electrical panels or outlets, if the ceiling is sagging significantly, or if you detect a gas odor. Call 911 before re-entering the home in any of those situations.
How do I know if my temporary roof patch is working?
Return to the attic 30 minutes after applying any exterior patch and check for new wet spots or active dripping. If moisture is still entering, the patch did not seal the breach and you need professional emergency repair without further delay.