
To document roof damage for an insurer, assemble a timestamped photo and video set of 60 or more images, four written records, and a licensed contractor inspection report, all saved in one named folder you can hand straight to the adjuster. That package is what separates a claim that gets paid in full from one that drags out for months over disputed causes and scope.
Do this while the damage is fresh. Insurers and adjusters expect specific evidence, and the longer you wait, the easier it becomes for a claim to get reclassified as wear and tear instead of storm damage.
Before you grab a camera, one safety rule matters more than any photo: do not climb on a damaged roof. For detailed best practices on safely documenting damage, see this homeowner's guide to documenting roof damage. Roof decking weakened by hail or wind can give way without warning, and a fall injury will cost you far more than any claim payout. Shoot from the ground, from windows, or from a stable ladder position, and let a professional handle anything that requires walking the slopes.
Your minimum file package should include:
- Timestamped photos and video covering every slope, soft metals, and ground evidence
- A storm timeline log noting the date, time, and weather conditions
- A damage description sheet with plain, factual observations
- A communications log tracking every call, email, and rep name
- An official NWS or NOAA storm event report tying the date to a confirmed event
- A licensed contractor inspection report with annotated photos and a scope estimate
Key Takeaways
A roof damage claim succeeds or fails based on whether your photo evidence, written records, and contractor report all point to the same storm date and the same documented cause.
| Point | Details |
|---|---|
| Shoot a complete photo set | Aim for 60 or more images covering establishing shots, each slope, soft metals, ground evidence, and interior damage. |
| Keep four written records | Maintain a storm timeline log, damage description sheet, communications log, and official storm event report. |
| Never climb a damaged roof | Document from the ground, windows, or a stable ladder, and leave on-roof inspection to a licensed professional. |
| Report damage quickly | Filing within a day or two of the storm reduces the chance an insurer disputes the cause as wear and tear. |
| Get a HAAG-certified inspection | Exterior Genie's certified inspectors provide an annotated, Xactimate-ready report that strengthens your claim alongside your own evidence. |
Where to Find Official Storm and Roofing Resources
Download your county's storm event record from the NOAA Storm Events Database to confirm the exact date and type of event. FEMA's guidance on wind versus floodwater damage helps you classify your loss correctly, and NRCA's inspection resources explain industry best practices for roof inspections.
- NOAA/NCEI Storm Events Database (county-level storm records)
- FEMA fact sheet on wind versus floodwater damage
- NRCA guidance on professional roof inspections
Table of Contents
- What to Include in a Roof Damage Photo and Video Checklist
- How Do You Safely Photograph and Organize Roof Damage Evidence?
- What Written Records Do You Need for a Roof Insurance Claim?
- When Should You Report Roof Damage to Your Insurer?
- Why a Professional Roof Inspection Strengthens Your Claim
- How Interior and Neighborhood Evidence Supports Your Claim
- Common Roof Documentation Mistakes That Hurt Your Claim
- Final Checklist Before You Submit Your Roof Damage Claim
- Get a Free Roof Inspection and Claims Support From Exterior Genie
- Sources
- FAQ
What to Include in a Roof Damage Photo and Video Checklist
Adjusters process claims faster when they see a complete, consistent set of images rather than a handful of random snapshots. A thorough photo set of 60 to 100-plus images that follows the same sequence every time cuts down on the back-and-forth requests that stall claims for weeks.
Work through the property in this order:
- Establishing shots. Take four photos: the full front of the house, the full rear, and two angles that show the roof's overall orientation and pitch. These give the adjuster context before they see a single dent.
- Per-slope documentation. Photograph each roof slope separately, aiming for 6 to 12 images per slope. Start with one wide shot of the entire plane, then move in close on every crack, bruise, missing shingle, or granule loss spot you can see.
- Soft metal surfaces. Gutters, vent caps, and AC condenser fins take hail impact differently than shingles, and adjusters use dents on these soft metal surfaces to calibrate hail size and impact density. Plan on 8 to 12 photos across these surfaces alone.
- Ground-level evidence. Photograph any shingle fragments, granules, or metal debris that landed in the yard, driveway, or gutters. This connects what fell to what you're claiming happened above.
- Interior photos. Ceiling stains, active drips, and any daylight visible through the attic decking prove the exterior damage created a real, ongoing problem inside the home.
A narrated video walkthrough adds another layer of proof. Walk the exterior perimeter and state the date, the address, and a brief description of what you're seeing as you go. Keep it simple: "This is the north slope, showing hail bruising near the ridge, filmed on [date]."
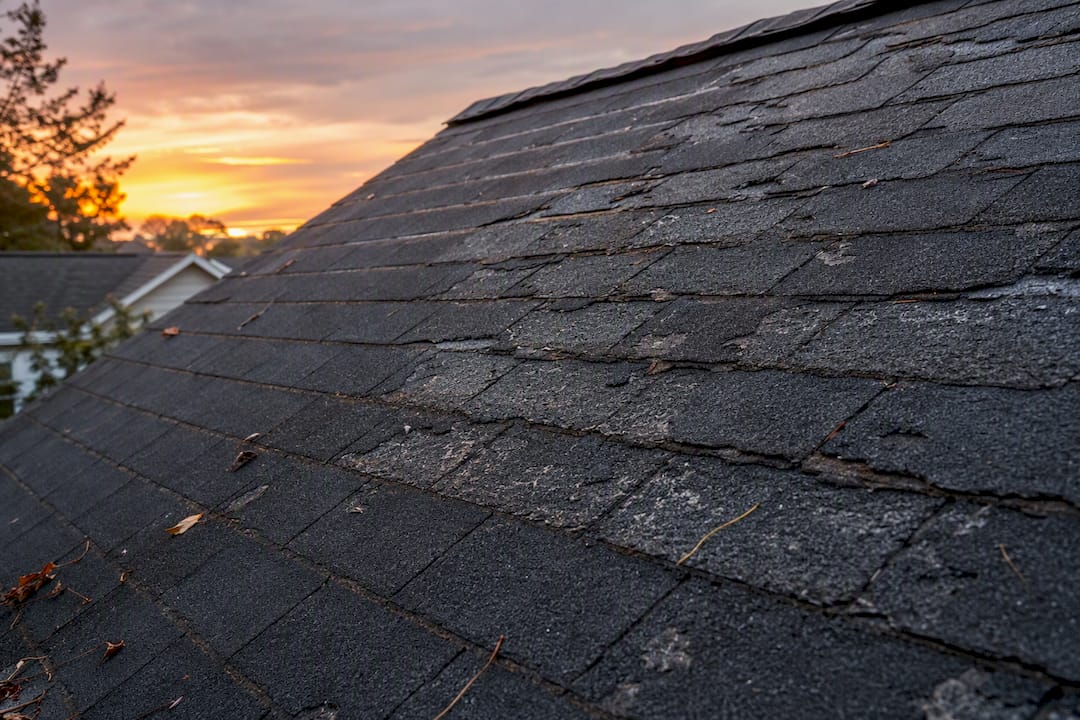
Pro Tip: Shoot the same angle twice, once at midday and once with low-angle afternoon light. Raking light makes hail bruising and shingle granule loss visible that flat noon light hides completely.
How Do You Safely Photograph and Organize Roof Damage Evidence?
Every photo you take should come from a position where a slip doesn't put you on the ground. Zoom lenses, a second-story window, the top rung of a stable ladder, or a drone all get you usable images without setting foot on the deck. If the damage is severe enough that ground-level shots can't capture it, that's the moment to schedule a professional roof inspection rather than take the risk yourself.
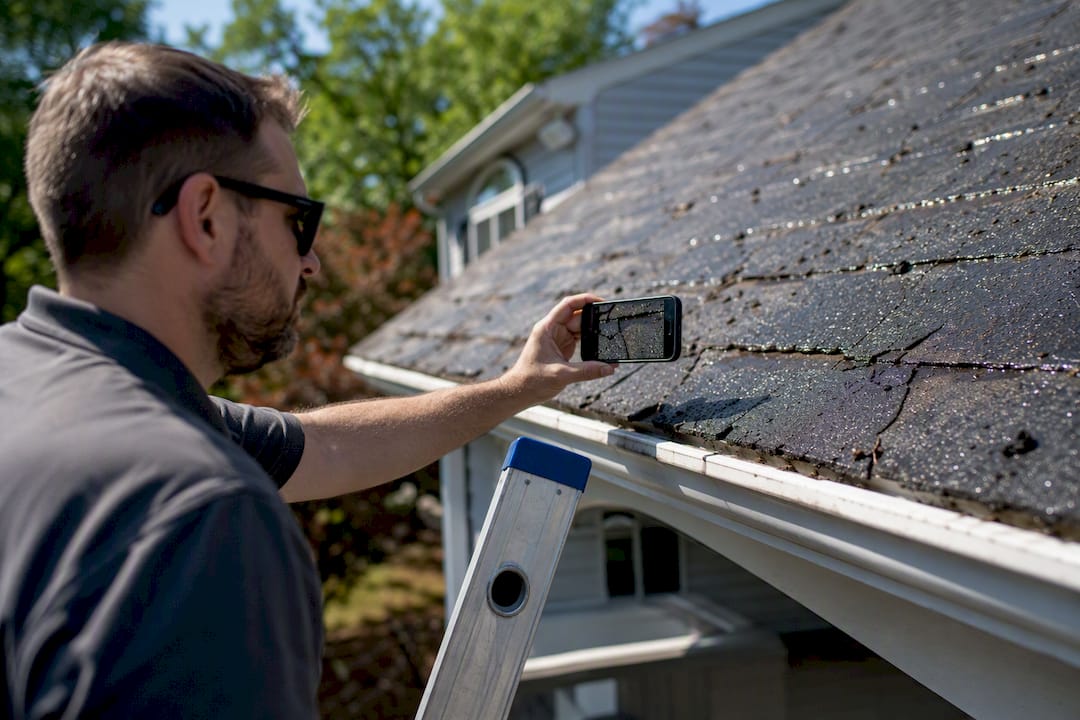
Follow the same shooting sequence every time: establishing shots, then slopes, then soft metals, then ground evidence, then interior. Consistency here isn't cosmetic. It's what lets an adjuster flip through your file and immediately understand the layout without asking you to re-explain anything.
Name your files and folders so anyone can find what they need in seconds. A structure like this works well:
- Top folder:
[StormDate]_[Address]_Roof_Claim - Subfolder:
Photos(with filenames likeNorthSlope_01_HailBruise.jpg) - Subfolder:
WrittenRecords - Subfolder:
StormData
Pro Tip: Back up every file in two places, a cloud folder and a local drive, the same day you take the photos. Phones get lost, cracked, or stolen more often than people expect, and a claim with no photo evidence is a much harder claim to win.
What Written Records Do You Need for a Roof Insurance Claim?
Photos prove damage exists. Written records prove when it happened, what it looked like, and who you talked to about it. Insurers weigh both, and a mismatch between your photos and your paperwork is one of the fastest ways to slow a claim down.
- Storm timeline log. Note the date, approximate time, and weather conditions, such as wind speed or hail size if you have any way to estimate it. This log is what you'll cross-reference against an official storm record.
- Damage description sheet. Write one objective sentence per damage point, matched to a specific photo ID. "North slope, shingle #4 from ridge, missing tab, see NorthSlope_04.jpg" reads far better to an adjuster than "roof looks bad up there."
- Communications log. Record your claim number the moment it's issued, along with every adjuster or rep name, the date of each call, and a two-line summary of what was said.
- Pre-storm baseline material. Old listing photos, past maintenance receipts, or a prior inspection report all help rebut any suggestion that the damage predates the storm you're claiming against. Keep these in the same folder even though they're older.
Documented maintenance history can also matter beyond the immediate claim. Homes with verified resilience upgrades or inspection records sometimes carry weight in broader claim and coverage discussions, so don't discard old paperwork just because it predates the storm.
When Should You Report Roof Damage to Your Insurer?
Report the damage as soon as you've completed your initial photo set, ideally within a day or two of the storm. Waiting longer gives an insurer more room to argue the damage resulted from gradual wear rather than a specific event, since gradual deterioration is typically excluded from storm coverage.
Most insurers let you file by phone, through a mobile app, or online, and the initial filing usually just needs your policy number, the date of loss, and a brief description. You'll receive a claim number immediately. Write it down in your communications log before you do anything else.
When the adjuster arrives, treat your documentation as a guided tour rather than a folder you hand over and walk away from:
- Walk them to each slope in the same order your photos follow
- Point out soft metal dents and ground debris before they ask
- Have your contractor's report ready if one exists, since it gives the adjuster a second professional opinion to weigh against their own
- If their scope seems to miss visible damage points, say so on-site and note the disagreement in writing that day, rather than waiting until after they've left
Why a Professional Roof Inspection Strengthens Your Claim
Some damage only shows up once someone actually walks the roof. Test squares, granule bruising on shingles, subtle decking flex, and flashing separation at chimneys or vents are all things a licensed inspector documents that ground-level photos simply can't capture with the same detail.
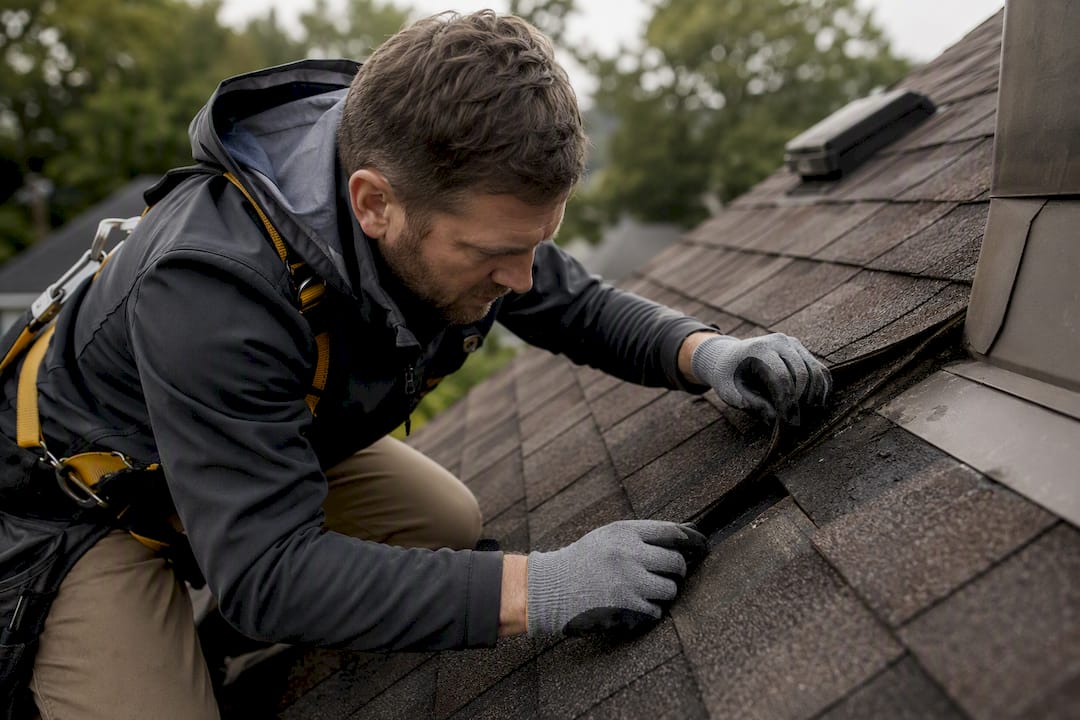
A strong contractor report includes annotated photos marking each damage point, identification of the shingle material and manufacturer, a full square footage measurement, and a line-item scope estimate. Reports built to Xactimate-compatible formatting tend to move through insurer review faster, because the adjuster's own software speaks the same language as your contractor's numbers.
Timing matters here too. Scheduling your inspection before the adjuster visits, or at least lining it up close to that date, gives you a professional second set of eyes to compare against the insurer's own findings.
Exterior Genie's HAAG-certified inspectors bring 25 years of field experience to storm claims across South Carolina, backing every inspection with the kind of detailed, annotated report adjusters are trained to trust. Combined with 24/7 emergency tarping, that means homeowners get both immediate protection and documentation that holds up under review.
A few things a solid inspection covers that a homeowner's own photos usually miss:
- Hail bruising patterns that only show under close inspection
- Nail pattern and decking issues hidden beneath shingles
- Flashing separation around chimneys, skylights, and vent pipes
- An accurate material match for repair versus full replacement, including brands like Owens Corning Shingles if replacement is warranted
How Interior and Neighborhood Evidence Supports Your Claim
Exterior damage tells half the story. Interior signs, plus what's happening around your property, help an adjuster connect cause to effect without any guesswork.
- Attic and ceiling checks. Photograph water stains, active drips, wet insulation, and any spot where daylight comes through the roof decking.
- Damaged belongings. List ruined items with a short description and, where you have them, receipts or replacement cost estimates.
- Neighborhood evidence. Photos of a neighbor's visible roof damage, downed tree limbs on the street, or a screenshot of local storm coverage all reinforce that a real event hit your area on that date, not just your own roof.
Common Roof Documentation Mistakes That Hurt Your Claim
Most denied or underpaid claims trace back to a handful of avoidable errors, not weak damage.
- Waiting weeks to document. The longer damage sits exposed, the more it can be argued as gradual deterioration instead of a single storm event.
- Climbing on the roof yourself. Beyond the injury risk, walking a damaged roof can worsen the very damage you're trying to prove.
- Vague or interpretive language. "Looks pretty bad" doesn't hold up. "Three missing tabs on the south slope, exposed felt visible" does.
- Skipping timestamps and receipts. A photo with no date attached is weak evidence, and temporary repair costs without receipts often go unreimbursed entirely.
Final Checklist Before You Submit Your Roof Damage Claim
Before you upload anything or hand a folder to an adjuster, confirm your file structure is complete and consistent.
- Confirm your folder contains four subfolders:
Photos,WrittenRecords,StormData, andContractorReport. - Verify your photo set covers all five categories: establishing shots, slopes, soft metals, ground evidence, and interior.
- Attach your NOAA/NCEI storm event report confirming the date and event type for your county.
- Include your contractor's annotated report, any repair receipts, and your full communications log.
- If you disagree with any part of the adjuster's scope, note it in writing the same day and request a re-inspection or second opinion before signing off. This step-by-step claim checklist covers the full submission sequence in more detail.
A Field Note on Documenting Storm Claims
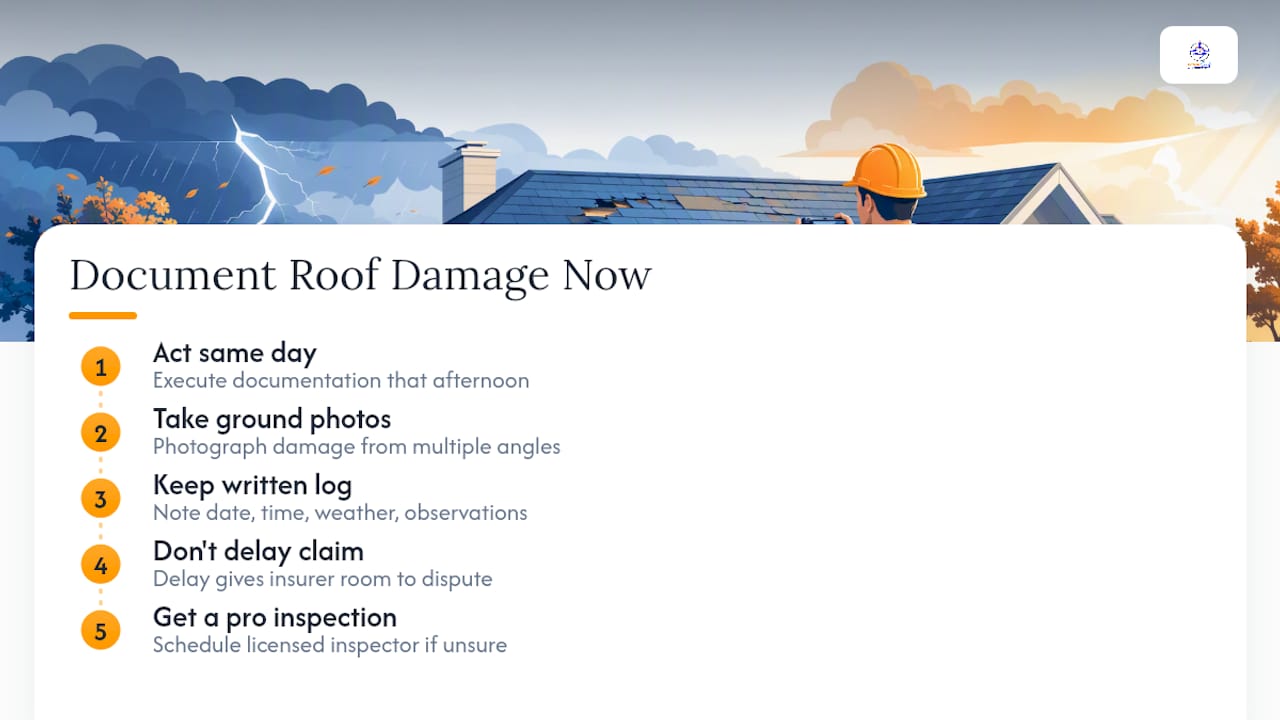
Storm claims tend to go sideways for one reason more than any other: homeowners wait, hoping the damage looks less severe once the adrenaline of the storm wears off. It rarely does, and every day of delay hands the insurer more room to argue the cause. The homeowners who fare best are the ones who treat documentation like a checklist to execute the same afternoon, not a chore to get to eventually.
None of this replaces a professional eye. Ground photos and written logs build a strong foundation, but a licensed inspector catches what a phone camera can't. If you're unsure whether what you're looking at qualifies, that uncertainty alone is a reason to get an inspection scheduled rather than guess.
Get a Free Roof Inspection and Claims Support From Exterior Genie
Exterior Genie gives homeowners in the Lexington and Columbia area something most contractors don't: a HAAG-certified inspection paired directly with insurance claims assistance, so your documentation and your contractor report come from the same team instead of two disconnected sources.

That inspection includes annotated photos, material identification, and a scope estimate built to align with adjuster software, plus direct support if your claim's scope looks incomplete after the adjuster's visit. If your roof needs immediate protection before an inspection can happen, Exterior Genie's 24/7 emergency tarping covers that gap. For homeowners ready to move now, request a free inspection through Exterior Genie's residential roofing team or start directly with insurance claims assistance to get a HAAG-certified inspector scheduled this week.
Sources
- Wind damage versus floodwater damage: what you need to know when filing a claim
- NOAA National Centers for Environmental Information: Storm Events Database
- Roof Inspection for Insurance Claim: A Guide
FAQ
What Documentation Do I Need for a Roof Damage Claim?
You need a timestamped photo and video set, a storm timeline log, a damage description sheet, a communications log, an official NWS/NOAA storm event report, and a contractor inspection report.
How Do I Report Roof Damage to My Insurance Company?
Call your insurer, use their mobile app, or file online with your policy number and a brief description of the loss, ideally within a day or two of the storm to avoid disputes over cause.
What Qualifies as Roof Damage for an Insurance Claim?
Storm-related wind and hail damage typically qualifies, while gradual wear, animal damage, or preexisting issues generally do not; FEMA's guidance also helps distinguish wind damage from floodwater damage, which often falls under separate coverage.
How Do I Write a Damage Description for My Insurer?
Write one factual sentence per damage point tied to a specific photo, such as "south slope, missing shingle near ridge, see photo 04," rather than a general impression of the damage.
Should I Get a Professional Inspection Before Filing My Claim?
Yes. A HAAG-certified inspection from a team like Exterior Genie documents details ground photos miss, including test squares and flashing separation, and produces a report adjusters weigh alongside their own findings.