
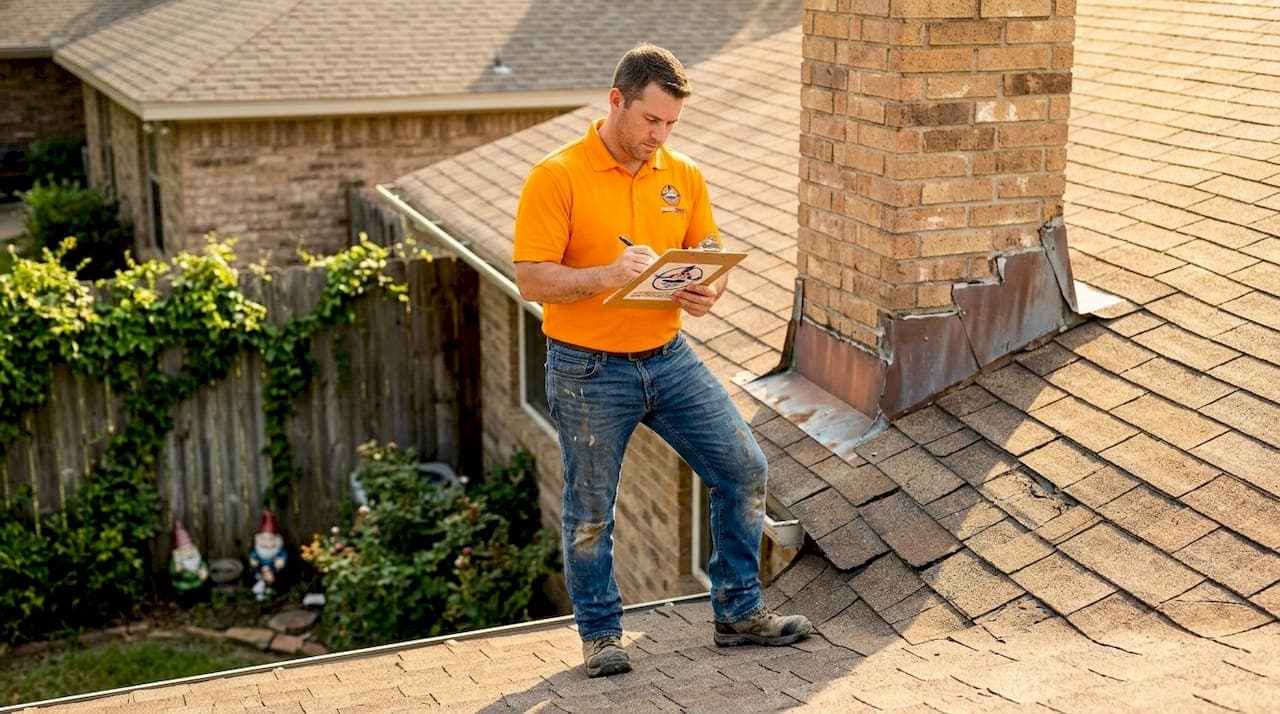
Most homeowners wait until water is dripping through the ceiling before they think about their roof. That instinct costs thousands of dollars every year. The role of roof inspection before repairs is not just procedural. It is the difference between a $300 fix and a $15,000 structural overhaul. A thorough inspection tells you exactly what is wrong, where it is, and how urgent the repair actually needs to be. Skip it, and you are guessing. This guide explains what a proper inspection covers, why the financial benefits are real, and how to time your inspections for maximum protection.
Table of Contents
- Key Takeaways
- The role of roof inspection before repairs explained
- Financial and practical benefits of pre-repair inspections
- When to schedule your inspection before making repairs
- Common problems inspections uncover before repairs
- My honest take on why skipping an inspection is a gamble you will regret
- Get a professional inspection before your next repair
- FAQ
Key Takeaways
| Point | Details |
|---|---|
| Inspections prevent cost overruns | Proactive inspections reduce future repair costs by 60 to 80%, catching small issues before they compound. |
| DIY has real limits | Most homeowners miss critical issues like pipe boot cracks and ridge cap failures that professionals catch during close evaluation. |
| Timing is strategic | Inspect after every major storm, at least twice a year, and professionally every 3 to 5 years to stay ahead of hidden damage. |
| Inspection records protect you financially | Documented inspections support insurance claims and help prove consistent maintenance to your insurer. |
| Findings guide repair decisions | What an inspector finds directly shapes the scope, priority, and cost of any repair work that follows. |
The role of roof inspection before repairs explained
When most people say "I need to fix my roof," they picture replacing a few shingles. What they often do not realize is that the visible damage is rarely the whole story. A shingle blew off because the wind got under it. The wind got under it because the flashing seal failed two seasons ago. And that flashing failure may have already sent water into the decking below. An inspection traces that chain.
A professional roof evaluation before repairs covers six key areas: the shingles or roofing material, the flashing at joints and penetrations, the gutters and drainage system, the soffit and fascia condition, the attic ventilation, and the attic itself. Each of these tells a different part of the story.
The attic often holds the most revealing information. Attic inspections reveal leaks and ventilation problems that are completely invisible from the roof surface. Staining on rafters, daylight visible through the decking, or condensation on the underside of the sheathing are all diagnostic clues that point directly to specific repair needs.
Here is what a standard roof inspection checklist covers:
- Shingles: Cracked, curling, missing, or granule-stripped sections
- Flashing: Gaps, rust, lifting, or failed sealant around chimneys, vents, and skylights
- Gutters: Blockages, detachment, sagging, or erosion patterns in the ground below
- Soffit and fascia: Rot, discoloration, pest entry points, or detachment
- Ridge cap: Blow-offs or separation at the peak of the roof
- Attic: Water staining, mold, condensation, insufficient insulation, and blocked vents
- Pipe boots: Cracked rubber collars around plumbing vents that let in water
Pro Tip: DIY inspections should start from the ground with binoculars. Walking the perimeter and scanning each slope takes about 20 minutes and catches the majority of visible surface problems safely, without the ladder risk.
The difference between a DIY look and a professional inspection is not just about height. It is about knowing what you are looking at. 85% of roof problems are visible from the ground, but the 15% that are not visible often include the problems most likely to cause structural damage. Pipe boot cracking, micro-fractures in flashing sealant, and subtle ridge cap separation regularly get missed by untrained eyes.
Financial and practical benefits of pre-repair inspections
The numbers here are not theoretical. Proactive inspections reduce repair costs by 60 to 80% compared to reactive repairs. A concrete example: a failing piece of flashing around a chimney costs roughly $300 to fix when caught early. Left undetected, that same flashing failure can drive water into the wall cavity, damage insulation, rot framing lumber, and eventually cost $3,000 or more to remediate.

| Inspection catch | Average repair cost | Cost if ignored |
|---|---|---|
| Cracked pipe boot | $150 to $250 | $1,500 to $4,000 (water intrusion) |
| Flashing failure | $200 to $400 | $2,500 to $6,000 (decking and framing damage) |
| Missing shingles | $100 to $300 | $800 to $2,000 (sheathing water damage) |
| Blocked gutters | $75 to $200 | $500 to $3,000 (fascia rot and foundation issues) |
| Ventilation problem | $200 to $600 | $1,000 to $5,000 (premature shingle failure) |
Beyond the direct repair cost comparison, regular inspections prevent structural water damage and mold growth that can affect air quality and require remediation far beyond the roof itself. Mold in an attic is a health hazard and a significant expense that a homeowner insurance policy may not fully cover depending on the cause.
"A roof inspection report is one of the most underused tools homeowners have when filing a damage claim. Insurers need proof that damage was sudden and not the result of neglect. A documented inspection history is exactly that proof."
Inspection documentation maintains insurance coverage by creating a paper trail that demonstrates active maintenance. If a storm damages your roof and you file a claim, an inspection report from six months prior showing your roof was in good condition is compelling evidence that the damage was event-caused, not the result of deferred maintenance.
When to schedule your inspection before making repairs
Timing your inspections correctly is just as important as doing them at all. Here is a practical schedule that protects you year-round.
- Spring inspection: After winter ends and before storm season begins, assess any freeze-related damage, check flashing seals that may have shifted, and clear gutters from winter debris.
- Fall inspection: Before winter arrives, verify shingle integrity, confirm attic insulation levels, and check that all penetrations are sealed against ice and cold infiltration.
- After any severe weather event: Inspect within 48 hours post-storm to document fresh damage before it progresses or gets attributed to earlier wear by an insurance adjuster.
- Every 3 to 5 years professionally: A professional inspection costs $150 to $350 and provides a detailed written evaluation far beyond what a homeowner can produce on their own.
- Before purchasing or selling a property: An inspection establishes baseline condition and can influence sale price negotiations or reveal problems that require resolution before transfer.
Pro Tip: If you are in a region with significant seasonal temperature swings, consider scheduling your professional inspection every 3 years rather than 5. Variable climates accelerate roofing wear through freeze-thaw cycles, and the damage accumulates faster than you would expect.
There are also specific signs that warrant an inspection immediately, regardless of your scheduled cycle. Interior ceiling stains, granules accumulating in your gutters, visible daylight in your attic, or a noticeable increase in energy bills without another explanation are all signals that something is wrong. Each of these warrants a close look before any repair work begins. Skipping straight to repairs without understanding the scope of the problem almost always results in incomplete fixes. Just like a yearly HVAC inspection catches system inefficiencies early, a roof inspection prevents small issues from becoming full-system failures.
Common problems inspections uncover before repairs
The findings from a thorough inspection do not just identify damage. They shape what repair work is needed, in what order, and at what urgency. Here are the most common issues that turn up and why they matter for repair planning.
Cracked or missing shingles are the entry point for most roof damage. On their own they are a minor repair. The inspection tells you whether they are isolated incidents caused by impact damage or part of a broader pattern indicating age-related failure. If shingles are failing in clusters, targeted patch repairs are not the right answer. The whole slope may need replacement.

Flashing failures are consistently the most underdiagnosed source of leaks. Flashing surrounds every penetration in your roof surface, including chimneys, vent pipes, and skylights. It is also used in roof valleys where two slopes meet. When flashing lifts, corrodes, or loses its sealant, water travels behind it and finds the decking. The leak often appears inside the house several feet from the actual entry point.
Ventilation problems affect the entire roof system. An attic without adequate airflow traps heat and moisture. That trapped heat bakes shingles from the underside, shortening their lifespan by years. That trapped moisture condenses on rafters and sheathing, encouraging mold and rot. Inspectors check ridge vents, soffit vents, and powered fans to verify airflow is adequate and unobstructed.
- Hidden decking damage: Soft spots in the decking indicate water has compromised the wood below the shingles. Walking on these areas during repairs without identifying them first is a safety risk and will worsen the structural problem.
- Granule loss patterns: Heavy granule loss in a specific area points to an impact event or localized manufacturing defect. Random loss across the slope signals age-related wear. These require different repair responses.
- Ridge cap issues: Ridge cap blow-offs and ventilation failures are among the most common precursors to serious leaks, yet homeowners nearly always miss them without a close inspection.
Knowing what you are dealing with before you call a contractor also protects you from scoping errors. A repair bid based on what a homeowner describes is almost always incomplete. An inspection report gives the contractor an accurate picture and prevents surprise cost additions once work begins.
My honest take on why skipping an inspection is a gamble you will regret
I have been in this industry for a long time, and the pattern I see most often is homeowners making confident repair decisions based on incomplete information. Someone spots a stain on their ceiling, replaces three shingles, and considers the problem solved. Six months later, the stain is back. The shingles were fine. The flashing above them was not.
What I find most homeowners underestimate is how much the repair process changes once you have a real inspection in hand. The scope gets clearer. The priorities get sharper. You stop throwing money at symptoms and start fixing causes.
The importance of roof inspection is not a formality. It is the diagnostic step that makes every repair dollar work harder. I have seen $500 inspections save people from $20,000 in water damage repairs. I have also seen people spend $4,000 on repairs that made no difference because the actual problem was never identified.
My practical advice: do not let any contractor begin repair work without a written inspection report first. Not because contractors are untrustworthy, but because no one, not even the best roofer, can repair what they cannot see. A proper inspection removes the guesswork entirely and gives you a document you can reference, share with your insurer, and hold a contractor accountable to.
— Ebben
Get a professional inspection before your next repair

If you recognize any of the warning signs discussed here, the right move is a professional evaluation before any repair work begins. Exteriorgenie is a veteran-owned roofing company serving Lexington, SC, with HAAG-certified inspectors who know exactly what to look for and how to document it for insurance purposes. From routine assessments to post-storm evaluations, Exteriorgenie provides the kind of thorough, written inspection reports that guide smart roof repair decisions and protect your investment long term. Contact the Exteriorgenie team for a professional assessment at exteriorgenie.com and stop guessing about what your roof actually needs.
FAQ
What does a roof inspection check before repairs?
A roof inspection before repairs covers shingles, flashing, gutters, soffit, fascia, attic ventilation, and the attic interior. The goal is to find both visible and hidden damage that determines the correct repair scope.
How much does a professional roof inspection cost?
Professional roof inspections typically cost between $150 and $350 and are recommended every 3 to 5 years or after any significant weather event.
Can I inspect my own roof before repairs?
You can conduct a basic ground-level assessment using binoculars to spot obvious damage, but professional inspections catch the hidden issues, including flashing cracks, decking problems, and ventilation failures, that most homeowners miss.
How does a roof inspection help with insurance claims?
Inspection documentation proves your roof was properly maintained before the damage occurred, which supports your claim and helps insurers distinguish between storm damage and pre-existing wear.
When should I get a roof inspection before repairs?
Get an inspection before any repair work begins, within 48 hours after a severe storm, each spring and fall as part of seasonal maintenance, and any time you notice interior ceiling stains or rising energy costs.