

Temporary roof patching is the process of applying short-term fixes using materials like heavy-duty polyethylene tarps, roofing cement, and self-adhesive flashing tape to stop leaks and protect your home until a professional can complete permanent repairs. Following the correct temporary roof patch steps matters because water intrusion causes structural rot, mold growth, and interior damage that compounds quickly. Emergency tarp patches last between 30 and 90 days, with up to 6 months under ideal conditions when installed correctly. Acting fast with the right materials and safe technique is the difference between a contained problem and a costly one.
What materials and tools do you need for a temporary roof patch?
The right materials determine how long your patch holds. Cheap substitutes fail within days, while proper roofing-grade products can protect your home for months.
Core materials
- Heavy-duty polyethylene tarp: Use at least 6-mil thickness, UV resistant, and sized to extend at least 4 feet beyond the damaged area on all sides. Thinner tarps degrade rapidly under sun and rain.
- Plastic roofing cement: Exterior-grade, designed for roof surfaces. This is not the same as household caulk or interior sealant.
- Fiberglass mesh tape: Used to reinforce roofing cement over larger cracks before a second coat is applied.
- Self-adhesive flashing tape: Butyl or rubberized asphalt tape rated for exterior roofing use. Works best on clean, dry surfaces with minor holes or seam gaps.
- 2x4 lumber battens: Used to anchor tarp edges securely without tearing.
- Roofing screws or nails (exterior grade): Galvanized or stainless steel to resist rust.
Tools
- Putty knife and utility knife
- Drill or hammer
- Tape measure
- Safety harness, non-slip footwear, and work gloves
- Camera or smartphone for documentation
| Material | Typical cost | Best use case |
|---|---|---|
| 6-mil polyethylene tarp | $15–$60 | Large damaged areas, storm damage |
| Plastic roofing cement | $8–$20 per quart | Small cracks, nail holes, flashing gaps |
| Fiberglass mesh tape | $5–$12 | Reinforcing cement over larger cracks |
| Self-adhesive flashing tape | $15–$35 per roll | Small holes, clean dry surfaces |
| 2x4 lumber battens | $3–$8 each | Tarp edge anchoring |
Pro Tip: Always buy roofing-specific cement and tape. Household silicone caulk and general-purpose sealants fail quickly on roofs because they cannot handle the expansion and contraction that temperature swings cause.
You can find a detailed breakdown of temporary roof repair options to compare materials before you buy.
What are the temporary roof patch steps for a tarp installation?
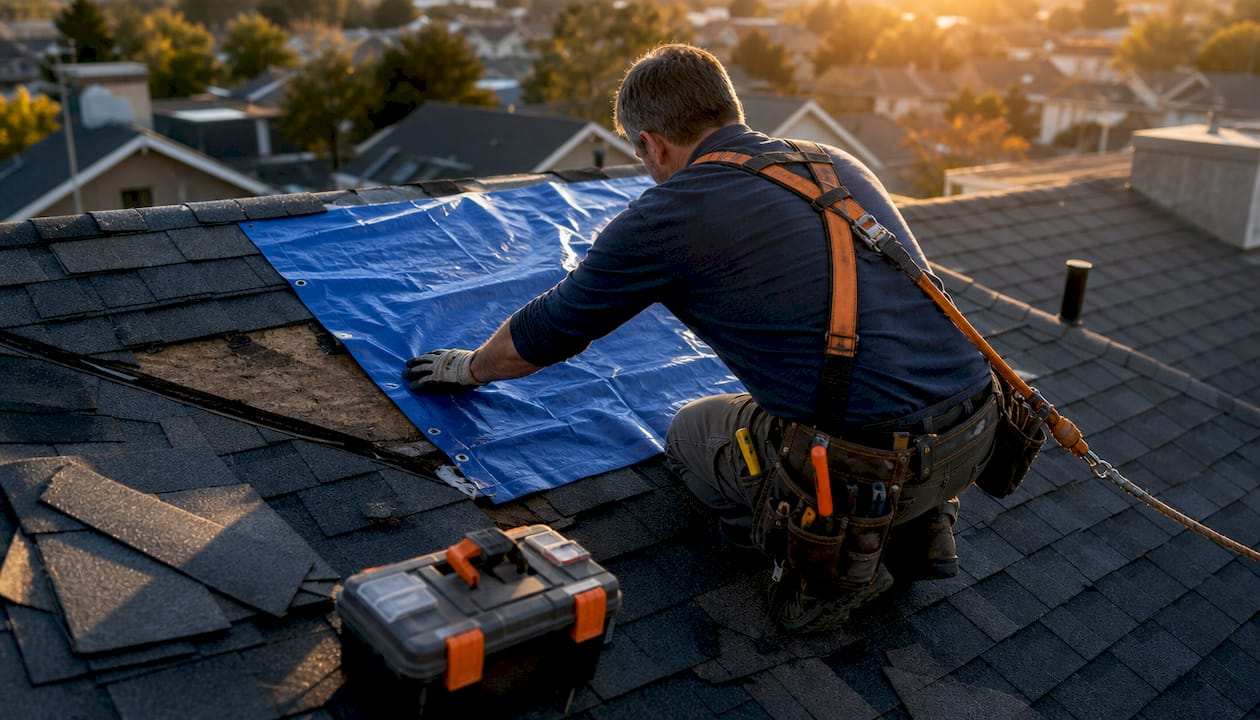
A tarp is the most reliable quick roof patch method for large or storm-damaged areas. Follow these steps in order and do not skip the safety checks.
-
Assess damage from the ground first. Use binoculars if needed. Never climb onto a wet, icy, or wind-affected roof. Safety experts confirm that the risk of a fall outweighs the water damage risk while waiting for dry, calm conditions.
-
Measure the damaged area. Add at least 4 feet to each side of the damage when calculating tarp size. A tarp that is too small will let water in at the edges.
-
Roll each tarp edge around a 2x4 batten. Wrap the tarp edge tightly around the lumber and staple or fold it to hold the roll. This creates a strong anchor point that distributes load across the tarp rather than concentrating stress at a single nail hole.
-
Drape the tarp over the roof ridge. The tarp must cross the ridge by at least 2–4 feet on the opposite side. This prevents water from running under the uphill edge during rain.
-
Secure battens with screws every 12–18 inches. Drive screws through the batten and tarp into the roof deck. Nailing tarp corners only fails under winds of 30 mph, while the batten method provides wind resistance up to 60 mph.
-
Tension the tarp flat. Loose, sagging tarps pool water and tear in wind. Pull the tarp taut before driving the final screws.
-
Lap the downslope edge past the eaves. The bottom edge of the tarp should extend beyond the roofline so water sheds off rather than running back under the tarp.
-
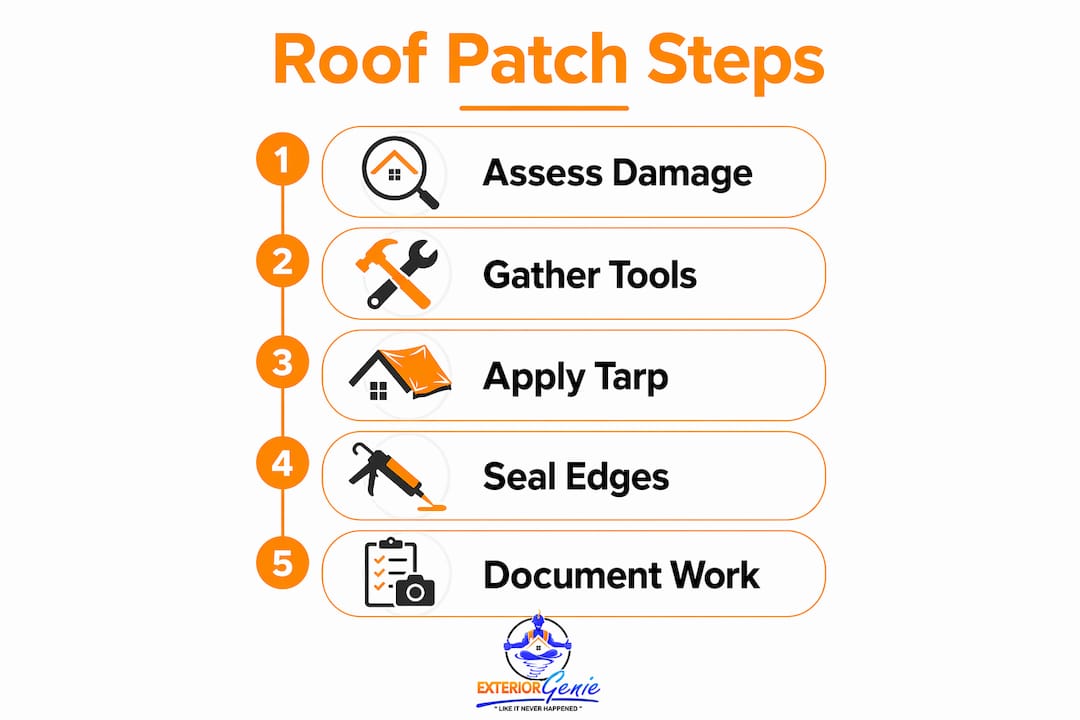
Document everything with photos. Photograph the damage, the tarp placement, and the secured battens from multiple angles. Photo documentation is critical for insurance reimbursement.
Temporary patches are a bridge to professional repair, not a substitute for it. Plan your permanent fix before the patch fails, not after.
Pro Tip: Take photos before, during, and after installation. Insurance adjusters need to see the original damage and your mitigation efforts. Exteriorgenie's HAAG-certified inspectors can review your documentation and guide your claim.
How do you apply roofing cement or flashing tape for small leaks?
Roofing cement and flashing tape handle minor damage that does not require a full tarp. These methods work on small cracks, nail holes, and gaps around flashing where a tarp would be impractical.
- Clean the repair area first. Remove loose granules, dirt, and debris with a stiff brush. Roofing cement and flashing tape both require a clean surface to bond properly.
- Apply roofing cement with a putty knife. Spread the cement at least 2 inches beyond the damaged area on all sides. Plastic roof cement applied this way creates a reliable seal over small cracks and nail holes.
- Reinforce larger cracks with fiberglass mesh. Press the mesh into the first wet layer of cement, then apply a second coat over the top. The mesh prevents the cement from cracking as the roof flexes.
- Press loose granules into the wet cement. This protects the cement from UV degradation, which can make it brittle within weeks in direct sun.
- Use self-adhesive flashing tape for clean, dry surfaces. Peel the backing and press firmly from the center outward to avoid air bubbles. Flashing tape works best on smooth surfaces around vents, skylights, and pipe boots.
- Seal flashing tape edges with roofing cement. The edges of the tape are the most likely failure point. A thin bead of cement over each edge locks it down.
These materials are temporary roofing solutions rated for weeks to a few months. Plan for professional repair well before that window closes.
Pro Tip: Never use silicone caulk or foam sealant on a roof. Roofing professionals warn these products fail because they cannot flex with the roof's constant thermal movement.
How do you find the actual source of a roof leak?
The leak source is rarely directly above the wet ceiling spot. Water entry points are seldom below interior ceiling leaks because water travels along rafters and decking before dripping through. Patching the wrong spot wastes time and leaves the real leak open.
Use this process to locate the true entry point:
- Start in the attic. Bring a flashlight and look for water stains, dark streaks, or wet insulation. Attic water stains appear highest at the actual point of entry because water runs downhill from there.
- Trace moisture uphill. Follow stains toward the ridge. The highest point of visible moisture is your best indicator of where water is entering.
- Run the garden hose test. Have one person stay in the attic while another slowly soaks different roof sections with a garden hose. Start low and work upward. When the person in the attic sees water appear, you have found the zone.
- Correlate interior and exterior findings. Once you identify the attic entry point, measure its distance from a fixed reference like the ridge or a wall. Use that measurement to locate the corresponding spot on the exterior.
- Document all findings. Photograph water stains, wet decking, and any visible damage from inside and outside. This record supports both accurate patching and your insurance claim.
A storm damage inspection checklist can help you organize your findings before calling a contractor.
What mistakes cause temporary roof patches to fail?
Most patch failures trace back to a short list of avoidable errors. Knowing them before you start saves you from climbing back up to redo the job.
- Using silicone caulk or non-roofing sealants. These products cannot handle roof movement and fail within weeks. Use only roofing-grade cement or rated flashing tape.
- Nailing tarp corners only. Corner nails tear out in moderate wind and create new holes in the roof deck. Always use the 2x4 batten method with screws spaced every 12–18 inches.
- Working in wet or windy conditions. Never attempt roof work during rain or high winds. A wet roof surface is a fall hazard, and wind makes tarp handling dangerous.
- Choosing a tarp that is too small. A tarp that barely covers the damage will let water in at the edges. Always add at least 4 feet of overlap on every side.
- Skipping re-inspection after storms. Check your patch after every significant weather event. Screws can back out, tarp edges can lift, and new damage can appear nearby.
Pro Tip: If the damage involves structural decking, multiple missing shingles, or damage near the chimney or skylights, call a professional. Exteriorgenie offers 24/7 emergency roof repair and can assess damage that goes beyond a safe DIY fix.
Key Takeaways
A successful temporary roof patch depends on using the right materials, placing the patch over the true leak source, and following safe installation practices from start to finish.
| Point | Details |
|---|---|
| Use proper tarp thickness | Select a UV-resistant polyethylene tarp of at least 6-mil and extend it 4 feet past the damage on all sides. |
| Anchor with battens, not nails | Wrap tarp edges around 2x4 lumber and secure with screws every 12–18 inches to resist winds up to 60 mph. |
| Find the real leak source | Trace attic moisture uphill from ceiling stains; the true entry point is almost always uphill from the interior drip. |
| Avoid non-roofing sealants | Use only roofing-grade cement or rated flashing tape. Silicone caulk and household sealants fail quickly on roofs. |
| Plan for permanent repair fast | Temporary patches last 30 days to 6 months. Schedule professional repair before the patch window closes. |
What I've learned after years of watching homeowners patch their own roofs
The most common mistake I see is not the wrong material or the wrong technique. It is the assumption that a patch buys unlimited time. Homeowners install a tarp, feel relieved, and then let weeks turn into months. By the time they call for a permanent repair, the decking underneath has started to rot and what was a shingle replacement has become a full deck repair.
The second thing I have noticed is that people underestimate how far water travels before it shows up inside. I have seen homeowners patch a spot directly above a ceiling stain and wonder why the leak continued. The actual entry point was four feet uphill, hidden under a lifted piece of flashing. The attic inspection step is not optional. It is the step that makes everything else work.
Safety is the third area where I push back on the "just get it done" mindset. A roof that is wet, steep, or wind-affected is not a safe working surface, period. The water damage from waiting one more day for dry conditions is almost always less expensive than a fall. Take the time, use a harness, and never work alone.
Finally, document everything. Photos of the original damage, the materials you used, and the finished installation are worth real money when you file an insurance claim. Exteriorgenie's HAAG-certified inspectors have helped homeowners recover repair costs that would have been denied without that documentation. Do not skip it.
— Ebben
Exteriorgenie is ready when your temporary patch is not enough
A temporary patch buys you time. What it cannot do is replace damaged decking, reseal failed flashing, or restore your roof's full weather resistance. That is where Exteriorgenie steps in.

Exteriorgenie is a veteran-owned roofing company serving Lexington, SC, with 25 years of experience and HAAG-certified inspectors on staff. The team offers 24/7 emergency roof repair for situations that cannot wait, along with personalized roof insurance claims assistance to help you recover costs. If the repair cost is a concern, financing options are available to make permanent repairs affordable. Contact Exteriorgenie to schedule a professional inspection and get a clear plan before your temporary fix runs out of time.
FAQ
How long does a temporary roof patch last?
Temporary patches last between 30 and 90 days, with up to 6 months possible when a UV-resistant tarp is correctly installed. Weather conditions and installation quality are the two biggest factors.
What is the best material for a temporary roof patch?
A heavy-duty, UV-resistant polyethylene tarp of at least 6-mil thickness is the best material for large damaged areas. For small cracks or nail holes, exterior-grade plastic roofing cement is the correct choice.
Can I use silicone caulk to patch a roof leak?
No. Roofing professionals warn against silicone caulk because it cannot flex with roof movement and fails quickly. Use only roofing-grade cement or rated flashing tape.
How do I find where my roof is actually leaking?
Start in the attic and look for the highest point of water staining or moisture, since water travels downhill along rafters before dripping through. The garden hose test with one person inside and one spraying the roof in sections is the most reliable method.
When should I call a professional instead of patching myself?
Call a professional when damage involves structural decking, multiple missing shingles, or areas around chimneys and skylights. Exteriorgenie offers emergency roof repair around the clock for damage that goes beyond a safe DIY repair.