
What does the vinyl siding repair process involve?
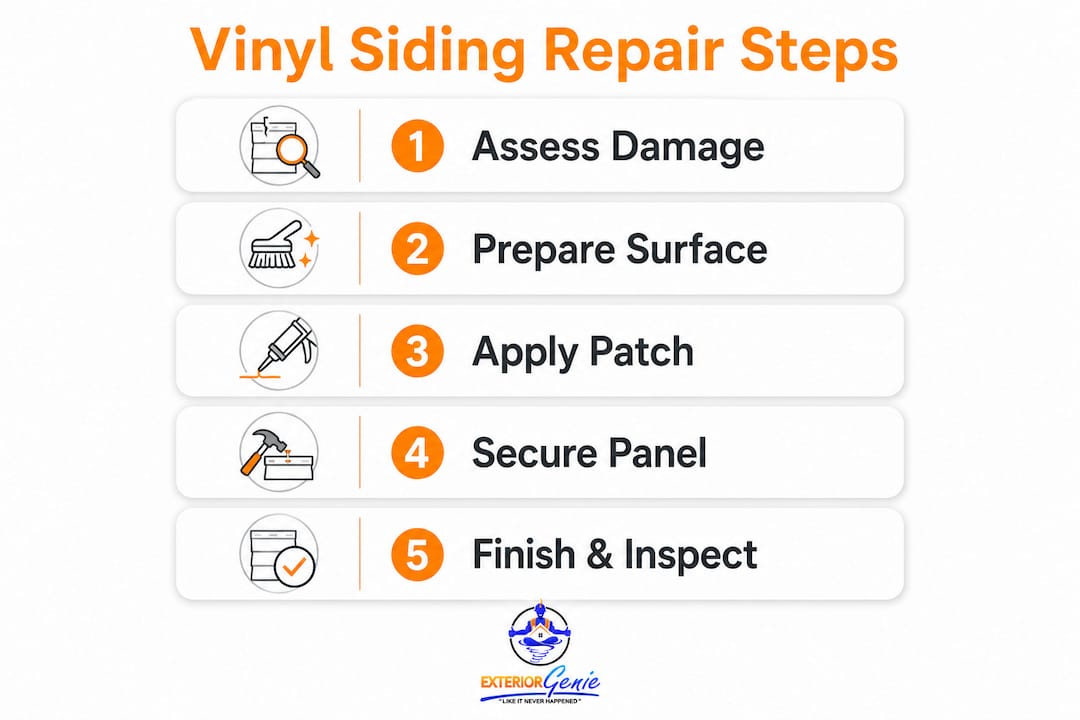
The vinyl siding repair process follows a clear sequence: assess the damage, gather the right tools, remove the affected panel or patch the affected area, install the replacement or filler, and lock everything back into place. The method you choose depends entirely on how bad the damage is. A hairline crack calls for color-matched caulk. A hole between 1/2 and 3/4 inch needs a cut patch from matching siding. Anything larger, or a panel that is warped or cracked through, requires full panel replacement—which generally takes about 15 minutes for a single panel with the right tools.
Here is the core process at a glance:
- Identify damage type and size to determine whether caulk, a patch, or a full panel swap is the right fix
- Gather tools and materials: zip tool, replacement siding, galvanized nails, exterior caulk, utility knife, aviation snips, and a hammer
- Unlock the panel above the damaged section using the zip tool, sliding it along the seam to pop the bottom lip free
- Remove nails from the damaged panel using a flat pry bar, then slide the panel out
- Inspect the wall behind the siding for moisture, soft sheathing, or mold before proceeding
- Apply minor repairs with color-matched caulk for hairline cracks, or cut a patch from spare siding for medium holes
- Cut and install a replacement panel for larger damage, nailing through the slots and leaving roughly 1/32 inch of clearance under each nail head
- Re-engage the panel above by running the zip tool along the seam until it snaps firmly into place
- Clean and inspect the finished repair for alignment, gaps, and any missed spots
That last step gets skipped more often than it should. A quick wipe-down with mild soap and water reveals misaligned edges and gaps that are far easier to fix before the caulk cures or the weather turns.
Understanding vinyl siding and what causes it to fail
Vinyl siding is a PVC-based exterior cladding installed in overlapping horizontal rows, with each panel locking into the one below it through an interlocking channel system. It became the dominant siding choice in American residential construction largely because of its low maintenance cost, resistance to rot and insects, and ability to hold color without painting. Vinyl siding typically lasts 20–40 years, though that range narrows fast on south-facing walls with heavy UV exposure or in regions with frequent hailstorms.
Common types of vinyl siding damage
- Hairline cracks: Usually caused by UV degradation or temperature cycling on older panels; most common on south and west exposures
- Small holes: Impact from lawn equipment, hail, or debris; often under 3/4 inch and repairable without panel removal
- Large cracks or holes: Severe impacts or long-term neglect; require cutting out the damaged section or replacing the full panel
- Warping or buckling: Almost always a nailing problem, not a material defect (more on this in the advanced repair section)
- Discoloration or fading: UV exposure causes uneven fading, which complicates color matching during repairs
What causes vinyl siding damage?
- UV exposure: Prolonged sun exposure degrades the surface, making panels brittle and prone to cracking under impact
- Impact from debris: Falling branches, hail, and stray objects from lawn equipment are the most common culprits for holes and cracks
- Poor installation: Panels nailed too tightly or fastened through the face rather than the nail slot cannot expand with heat, leading to buckling
- Extreme temperature swings: Vinyl contracts in cold weather and expands in heat; panels that cannot float freely will warp or crack
- Moisture infiltration: Water that gets behind the siding through gaps or failed caulk can damage the sheathing and cause panels to shift
How severe the damage is determines which repair approach makes sense. A small crack on a structurally sound panel is a quick fix, usually taking about 10–15 minutes with basic tools. A panel that has been buckling for two summers because of a bad nail job may look like a cosmetic issue but signals a systemic installation problem worth correcting properly.
How to assess and prepare before starting any repair
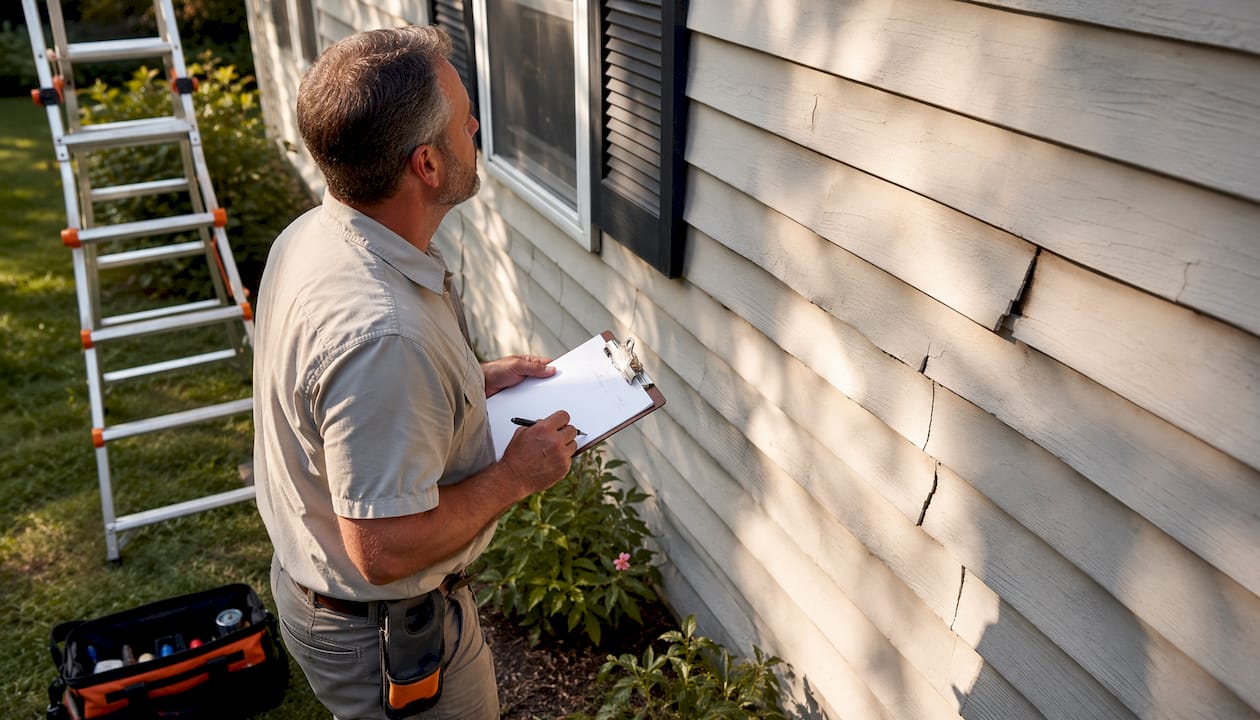
A thorough inspection before you touch a single panel saves you from discovering bigger problems mid-repair. Start by walking the perimeter of the house and looking for cracks, holes, warping, and any panels that appear to have pulled away from the wall. Pay close attention to areas around windows, doors, and downspouts, where water tends to collect and infiltrate.
What to check during your inspection
- Surface damage: Cracks, holes, dents, and discoloration visible from a few feet away
- Warping or buckling: Panels that bow outward or ripple, especially on sun-exposed walls
- Panel security: Press gently on suspect panels; any that flex dramatically or feel hollow may have lost their lock
- Moisture and mold: Water damage or soft sheathing behind a panel signals a problem that goes beyond siding repair and requires a professional evaluation
- Underlying sheathing: After removing a panel, check for dark staining, softness, or mold on the wall surface beneath
Tools and materials checklist
- Zip tool (siding removal tool)
- Flat pry bar
- Hammer
- Utility knife
- Aviation snips or tin snips
- Galvanized roofing nails (1-3/4 inch)
- Replacement vinyl siding panel (matching profile and color)
- Exterior-grade vinyl caulk, color-matched
- Vinyl patch adhesive
- Safety glasses and work gloves
- Ladder (if working above ground level)
Safety before you start
Ladder safety is not optional. Set the base one foot out for every four feet of height, and never lean past the rails. Wear safety glasses whenever you cut vinyl, because snipped edges can send small fragments at speed. Gloves protect against the sharp cut edges of freshly trimmed panels.
Pro Tip: Perform vinyl siding repairs when temperatures are between 40°F and 90°F. Cold vinyl becomes brittle and cracks easily during removal; panels in extreme heat can be too soft to hold their shape during installation. Mild, overcast days are ideal.
How to fix minor vinyl siding damage: cracks and small holes
Small repairs are where most homeowners can save real money without any specialized skill. The key is matching the right repair method to the size of the damage before you open a tube of caulk or cut a patch.
Step-by-step: repairing hairline cracks and small holes
- Clean the damaged area with rubbing alcohol or mild soap and water. Let it dry completely. Any dirt or moisture under the caulk will cause it to fail within a season.
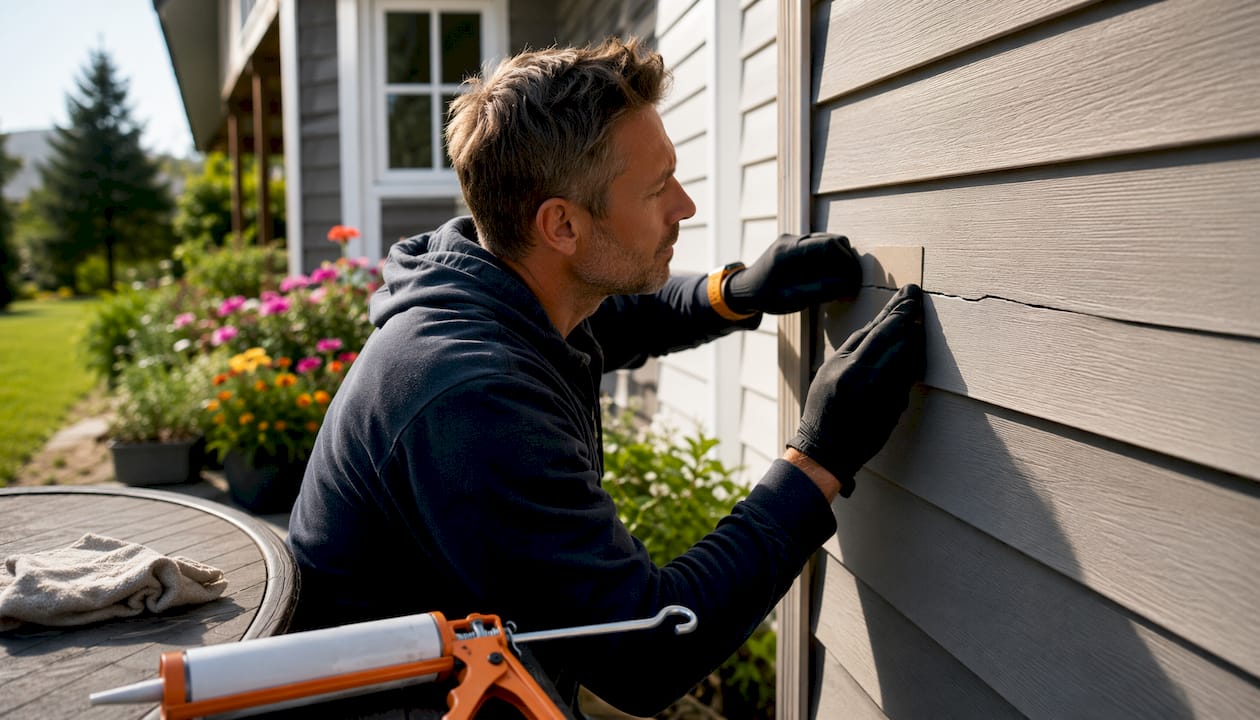
- For holes under 1/2 inch: apply color-matched exterior vinyl caulk directly into the crack or hole. Smooth it with a damp fingertip, following the panel's surface profile. Wipe away any excess before it skins over.
- For holes between 1/2 and 3/4 inch: cut a patch from a spare piece of matching siding, making it at least 2 inches larger than the hole in every direction. Trim the nailing hem and lower lock off the patch so it lies flat.
- Apply vinyl adhesive to both the back of the patch and the area around the hole. Press the patch firmly into place, aligning it with the panel's grain and profile.
- Secure with painter's tape and let the adhesive cure for 24 hours before removing the tape or exposing the repair to rain.
Tools and materials for small repairs
- Color-matched vinyl siding caulk (paintable, exterior-grade)
- Vinyl patch adhesive
- Spare matching siding piece
- Utility knife
- Painter's tape
- Rubbing alcohol or mild soap
Pro Tip: For the cleanest color match on a patch repair, source the spare siding from a hidden spot on the house, such as behind a downspout or inside a garage. New siding from a store will almost always look brighter than weathered panels, and the mismatch is obvious in direct sunlight.
Post-repair maintenance
After the adhesive cures, run your finger along all edges of the patch to confirm there are no gaps where water could enter. Check the repair again after the first hard rain. Vinyl siding maintenance tips like this one take two minutes and catch failures before they turn into moisture problems behind the wall. For a broader look at exterior repair material options, the choice of caulk and adhesive matters more than most homeowners realize.
Advanced repairs: replacing full panels and fixing warped siding
Full panel replacement sounds intimidating, but a single panel swap takes about 15 minutes with the right tools. The zip tool is what makes it possible. Without it, trying to unlock aged vinyl panels by hand almost always results in cracking the surrounding siding and turning a simple job into a much larger one.
Step-by-step: replacing a damaged panel
- Unlock the panel above the damaged one by sliding the zip tool along the seam with the hook facing down. Pull gently as you slide to pop the butt edge free.
- Remove the nails from the damaged panel using a flat pry bar. Work carefully to avoid denting the panels above.
- Slide the damaged panel out by disengaging it from the lock of the panel below, then pulling it away from the wall.
- Inspect the sheathing before installing anything new. If you see soft spots, dark staining, or mold, stop and call a professional.
- Measure and cut the replacement panel using the old panel as a template. Cut with aviation snips or a utility knife and speed square. Remove about 2 inches of the nailing flange from each end so the panel can slide under adjacent pieces and expand freely.
- Slide the new panel into position, locking its bottom edge into the channel of the panel below.
- Nail through the center of each nail slot every 12–16 inches, leaving approximately 1/32 inch of clearance between the nail head and the siding surface. Never drive nails flush or tight.
- Re-engage the panel above by running the zip tool along the seam, pressing the bottom lip down until it snaps into the new panel's top lock. Confirm it is fully seated along its entire length.
Fixing warped panels without replacing them
Warping is almost always a nailing problem. Panels warp when they cannot expand and contract freely because a nail was driven through the face of the panel rather than through the slot, or because the panel was butted too tightly against a J-channel with no room to move. Before pulling a warped panel, check whether correcting the fasteners will solve it.
- Use the zip tool to pop the panel above free
- Inspect each nail in the warped panel for any driven through the face rather than the slot
- Pull face-nailed fasteners with a pry bar and re-drive galvanized nails through the center of the nearest slot, loose enough to allow for lateral movement of the panel
- Check both ends of the panel at the J-channel or corner post; there should be a gap to allow for expansion. If the panel is butted tight, score the end and snap off a sliver with tin snips
- Re-engage the panel above and wait for a cooler day to see if the panel flattens out
Pro Tip: On hot days, a corrected panel may not flatten immediately. Give it a cold night and check again before deciding the panel needs replacement.
Repair method comparison
| Damage type | Repair method | Key tool | Typical time |
|---|---|---|---|
| Hairline crack | Color-matched caulk | Caulk gun | 10–15 minutes |
| Hole 1/2–3/4 inch | Cut patch with adhesive | Utility knife | 15 minutes |
| Hole over 3/4 inch or full crack | Panel splice or replacement | Zip tool, snips | 15 minutes |
| Warped panel | Correct fasteners, free panel | Zip tool, pry bar | 15 minutes or slightly longer if significant adjustment is required |
For homeowners dealing with signs your home needs new siding rather than isolated repairs, the decision framework shifts considerably toward full replacement.
Is it worth repairing vinyl siding, or should you replace it?
Repairing minor damage early is almost always the better financial decision. A small crack sealed with caulk costs a few dollars and an hour of your time. Left alone, that same crack lets water behind the siding, where it can saturate the sheathing, feed mold, and eventually compromise the wall structure. The repair bill at that stage is measured in thousands, not tens.
- Repair makes sense when: damage is isolated to one or two panels, the surrounding siding is in good condition, and there is no evidence of moisture behind the wall
- Replacement makes more sense when: damage covers a large area, panels are brittle and cracking throughout, or moisture has already reached the sheathing or framing
- DIY is reasonable for: hairline cracks, small holes, single-panel swaps on accessible walls at ground level or reachable from a standard ladder
- Call a professional when: you find soft sheathing or mold behind a panel, the damage involves corners or window trim, or the repair requires working at significant height
- Environmental note: repairing rather than replacing keeps panels out of the waste stream. Vinyl siding is not widely recyclable in most American markets, so extending the life of existing panels through timely repairs has a real environmental benefit
- Cost perspective: a zip tool costs $5–$8, a tube of vinyl caulk runs a few dollars, and a replacement panel from a local distributor is typically inexpensive for a standard section. The labor is the main variable, and for a single panel on an accessible wall, most homeowners can handle it themselves
Repairing minor damage also preserves curb appeal without the disruption of a full re-side, which typically requires professional crews and a multi-day project timeline. For homeowners weighing the decision, reviewing exterior home repair guidance can help clarify when a targeted fix is sufficient versus when a broader assessment is warranted.
Expert tips and contractor warnings for lasting vinyl siding repairs
Color matching is the hardest part of any vinyl siding damage repair, and most homeowners underestimate it. Vinyl fades unevenly due to sun exposure, so a brand-new panel from a distributor will almost never match a wall that has been weathering for a decade. The professional solution is to pull a donor piece from an inconspicuous spot on the house, such as behind a downspout or from a section hidden by a deck, and use that weathered piece for the visible repair. Replace the donor spot with new material where it will not be noticed.
What contractors warn homeowners about
- Skipping the moisture check: removing a panel and immediately installing a replacement without checking the sheathing is one of the most common DIY mistakes. If there is water damage behind the siding, the new panel will trap moisture and accelerate the problem
- Nailing too tight: every contractor who works with vinyl siding will tell you the same thing. Driving nails flush pins the panel in place, and the first hot day will buckle it. Leave a small gap every time
- Cracking aged panels with the wrong tool: vinyl that has been on a house for 15 or 20 years is significantly more brittle than new material. The zip tool is the only safe way to unlock those panels without cracking them. Attempting to pry them free by hand or with a flat bar almost always causes collateral damage
- Ignoring warping causes: replacing a warped panel without fixing the underlying nailing error means the new panel will warp too. Correct the fastener placement first
- Buying new when you need weathered: new siding from a big-box store is a last resort for visible walls. The color mismatch against faded existing panels is obvious and difficult to correct without painting
Pro Tip: Keep any leftover siding from the original installation. Even a few spare panels stored in a garage or attic can save you from a color-matching nightmare years later. If you are buying a home with vinyl siding, ask the seller whether spare panels exist.
Exteriorgenie brings 25 years of veteran-owned exterior repair experience to every project, including the kind of nuanced judgment calls that separate a lasting repair from one that fails in the next storm season. When the damage is beyond a straightforward panel swap or the inspection reveals moisture behind the wall, having a trusted exterior repair contractor evaluate the full scope protects both your home and your investment.
Ready to get your siding repaired the right way?

Some vinyl siding repairs are genuinely DIY-friendly. Others look simple on the surface and turn into a moisture remediation project once the panel comes off. Exteriorgenie's team of HAAG-certified inspectors and veteran craftsmen in Lexington, SC, can assess your siding damage, identify any underlying issues, and complete the repair with the kind of precision that holds up through South Carolina summers and storm seasons alike. If the scope of the repair or the cost of materials gives you pause, financing options are available to make the project manageable. Contact Exteriorgenie for a transparent, no-pressure assessment of your home's exterior.
Key Takeaways
Repairing vinyl siding correctly requires matching the repair method to the damage size, using a zip tool to protect surrounding panels, and leaving nail head clearance so panels can expand freely with heat.
| Point | Details |
|---|---|
| Match repair to damage size | Use caulk under 1/2 inch, a cut patch for 1/2–3/4 inch, and full panel replacement for larger damage. |
| Zip tool is non-negotiable | Attempting to unlock aged vinyl panels without a zip tool almost always cracks surrounding siding. |
| Nail clearance prevents warping | Leave approximately 1/32 inch between the nail head and siding surface so panels can float with temperature changes. |
| Check for moisture first | Soft sheathing or dark staining behind a removed panel signals structural damage that requires professional evaluation. |
| Color match from the house | Pull a donor piece from a hidden spot on the home for the best color match; new store panels rarely match weathered siding. |